To begin with: a banana bread isn’t bread, it’s cake.
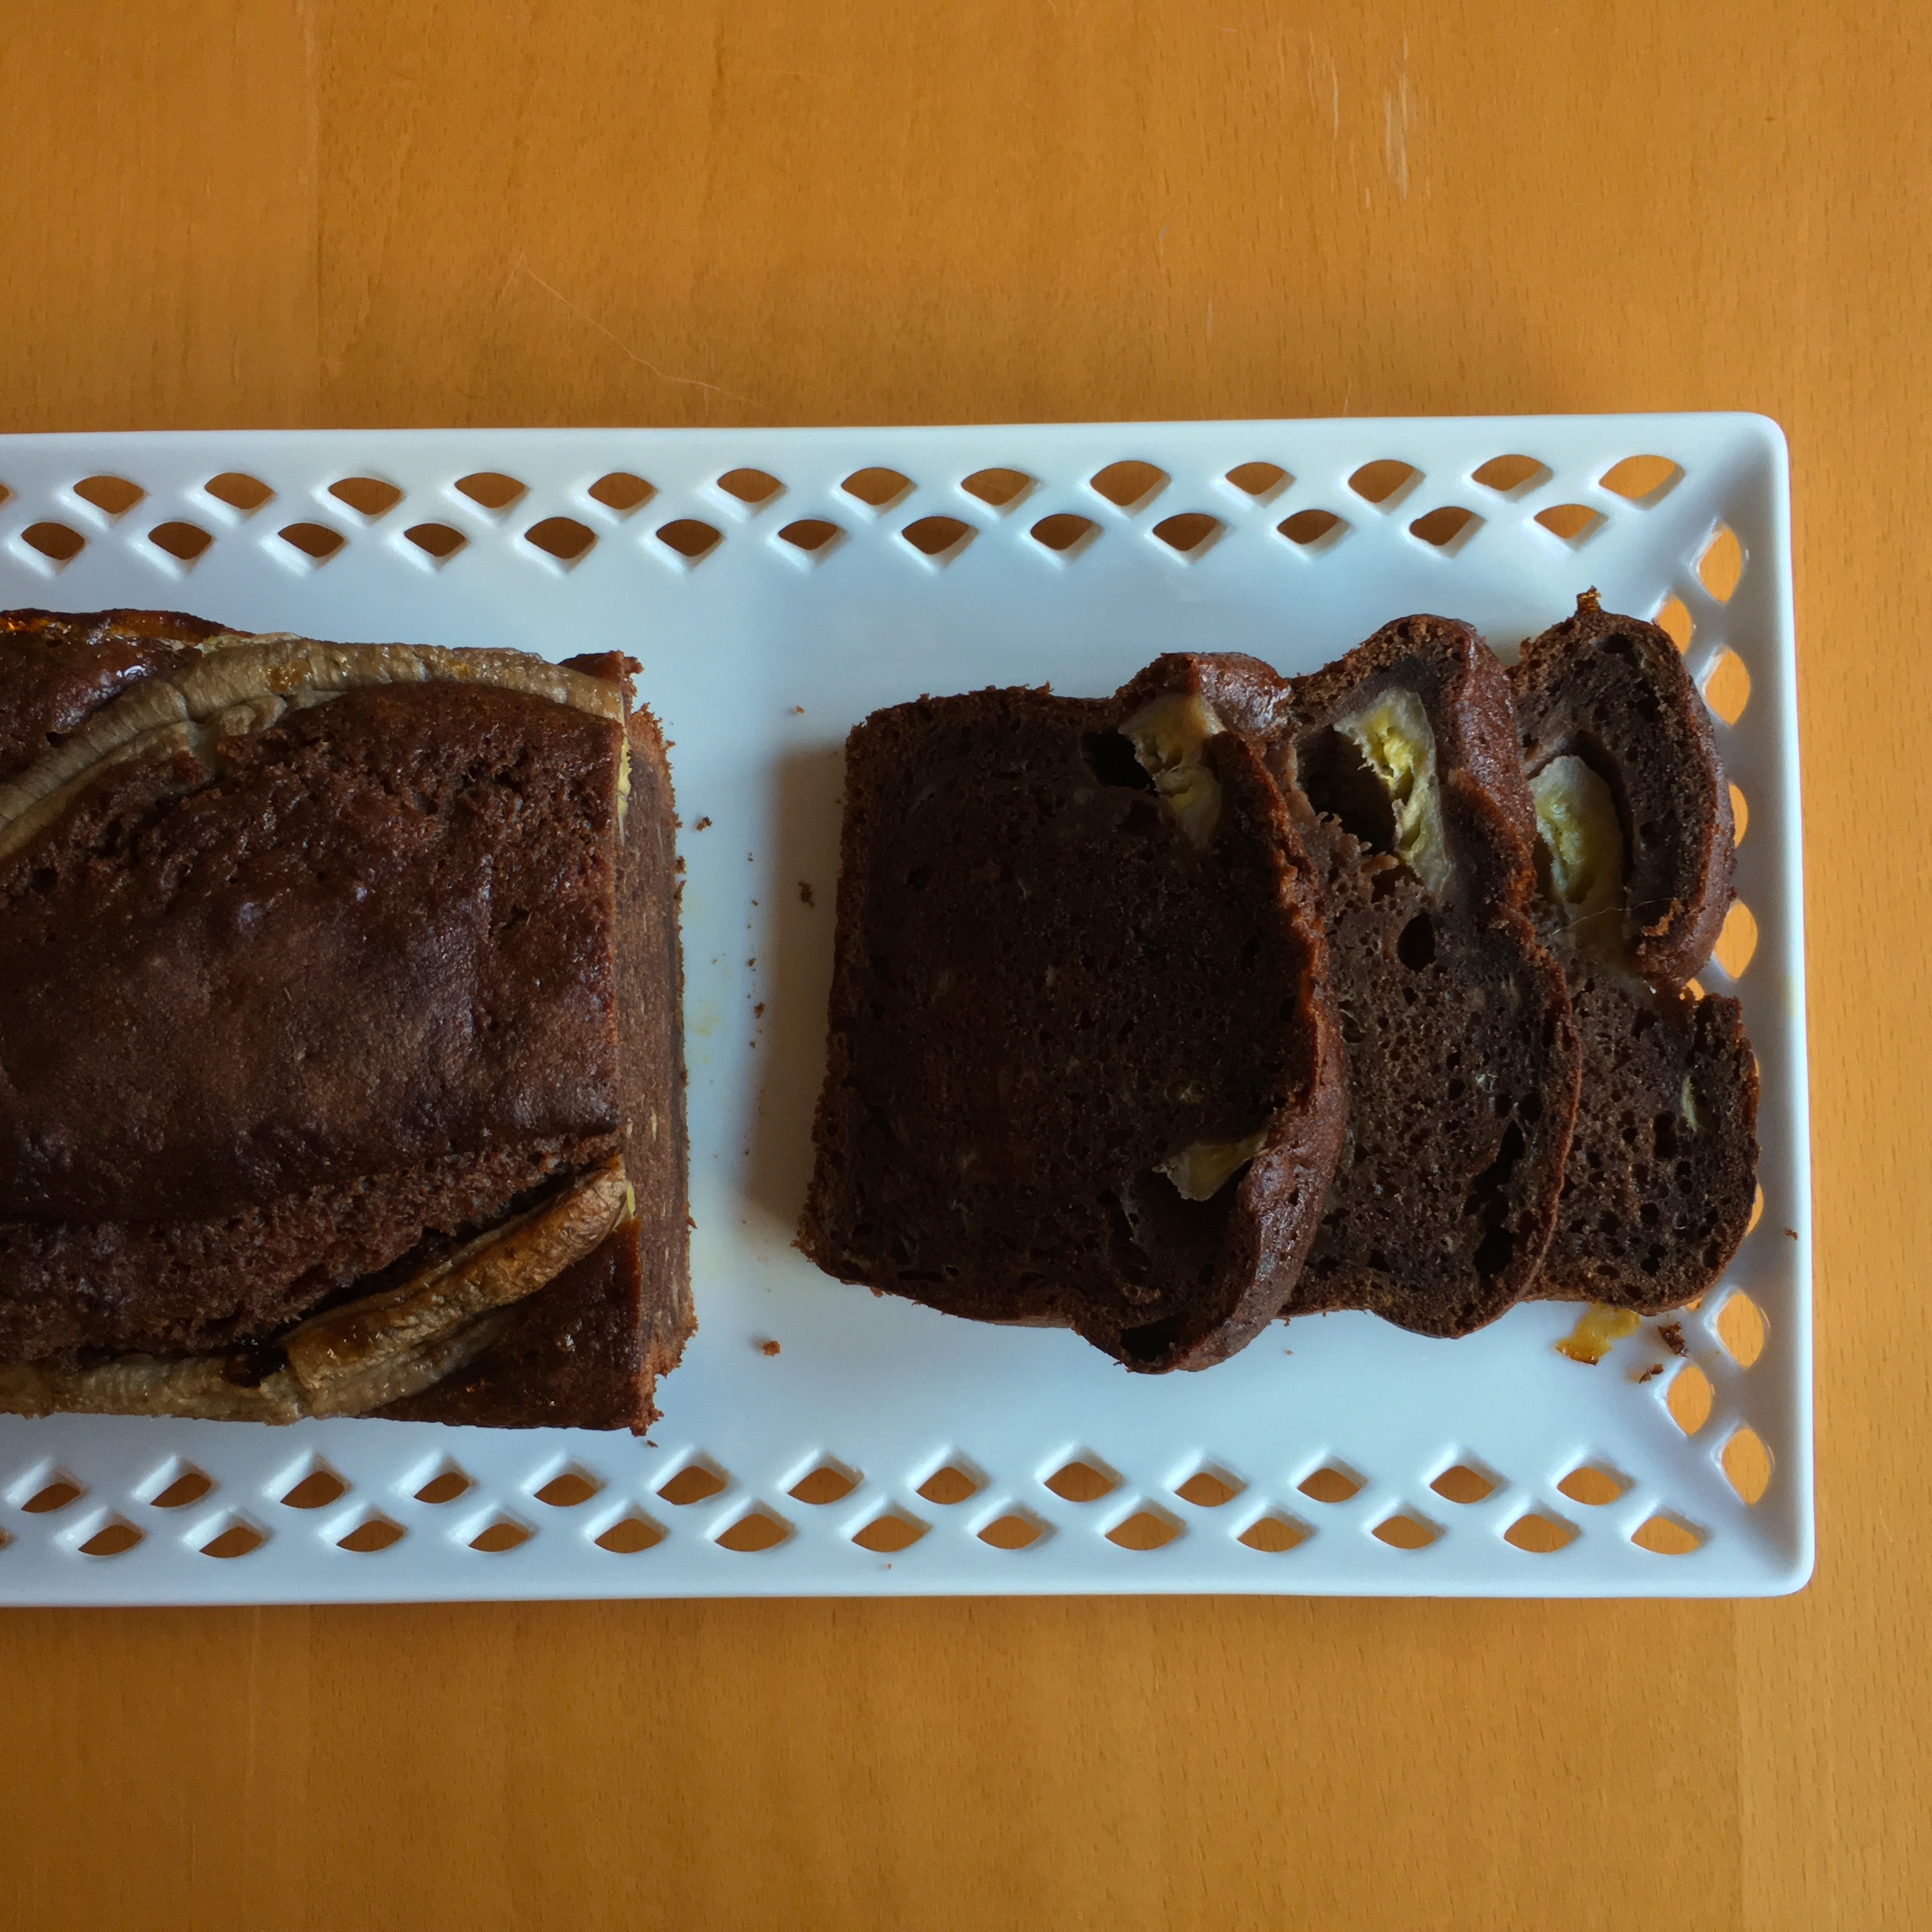
At the end you get a juicy, soft cake w/ chocolate flavor & a hint of vanilla. (Ok – this time I didn’t add any more spices like cinnamon or so, nor did I shatter any nuts, nor did I think of any additional fruit or vegetables … to make all just a bit more fancy!)
Years ago – at least it appears to me like years – I tried a banana bread recipe. My better half & I can very well remember this cake. In short: we liked it. So when I stumbled on photos w/ banana bread recently on Instagram & noticed recipes on blogs I had the idea to try it again. Imagine a soft, fluffy loaf of cake … accompanying your cup of coffee or tea or espresso …
What do we need?
It’s only:
- flour
- cocoa
- butter
- sugar & vanilla sugar
- eggs
- … & ripe bananas!
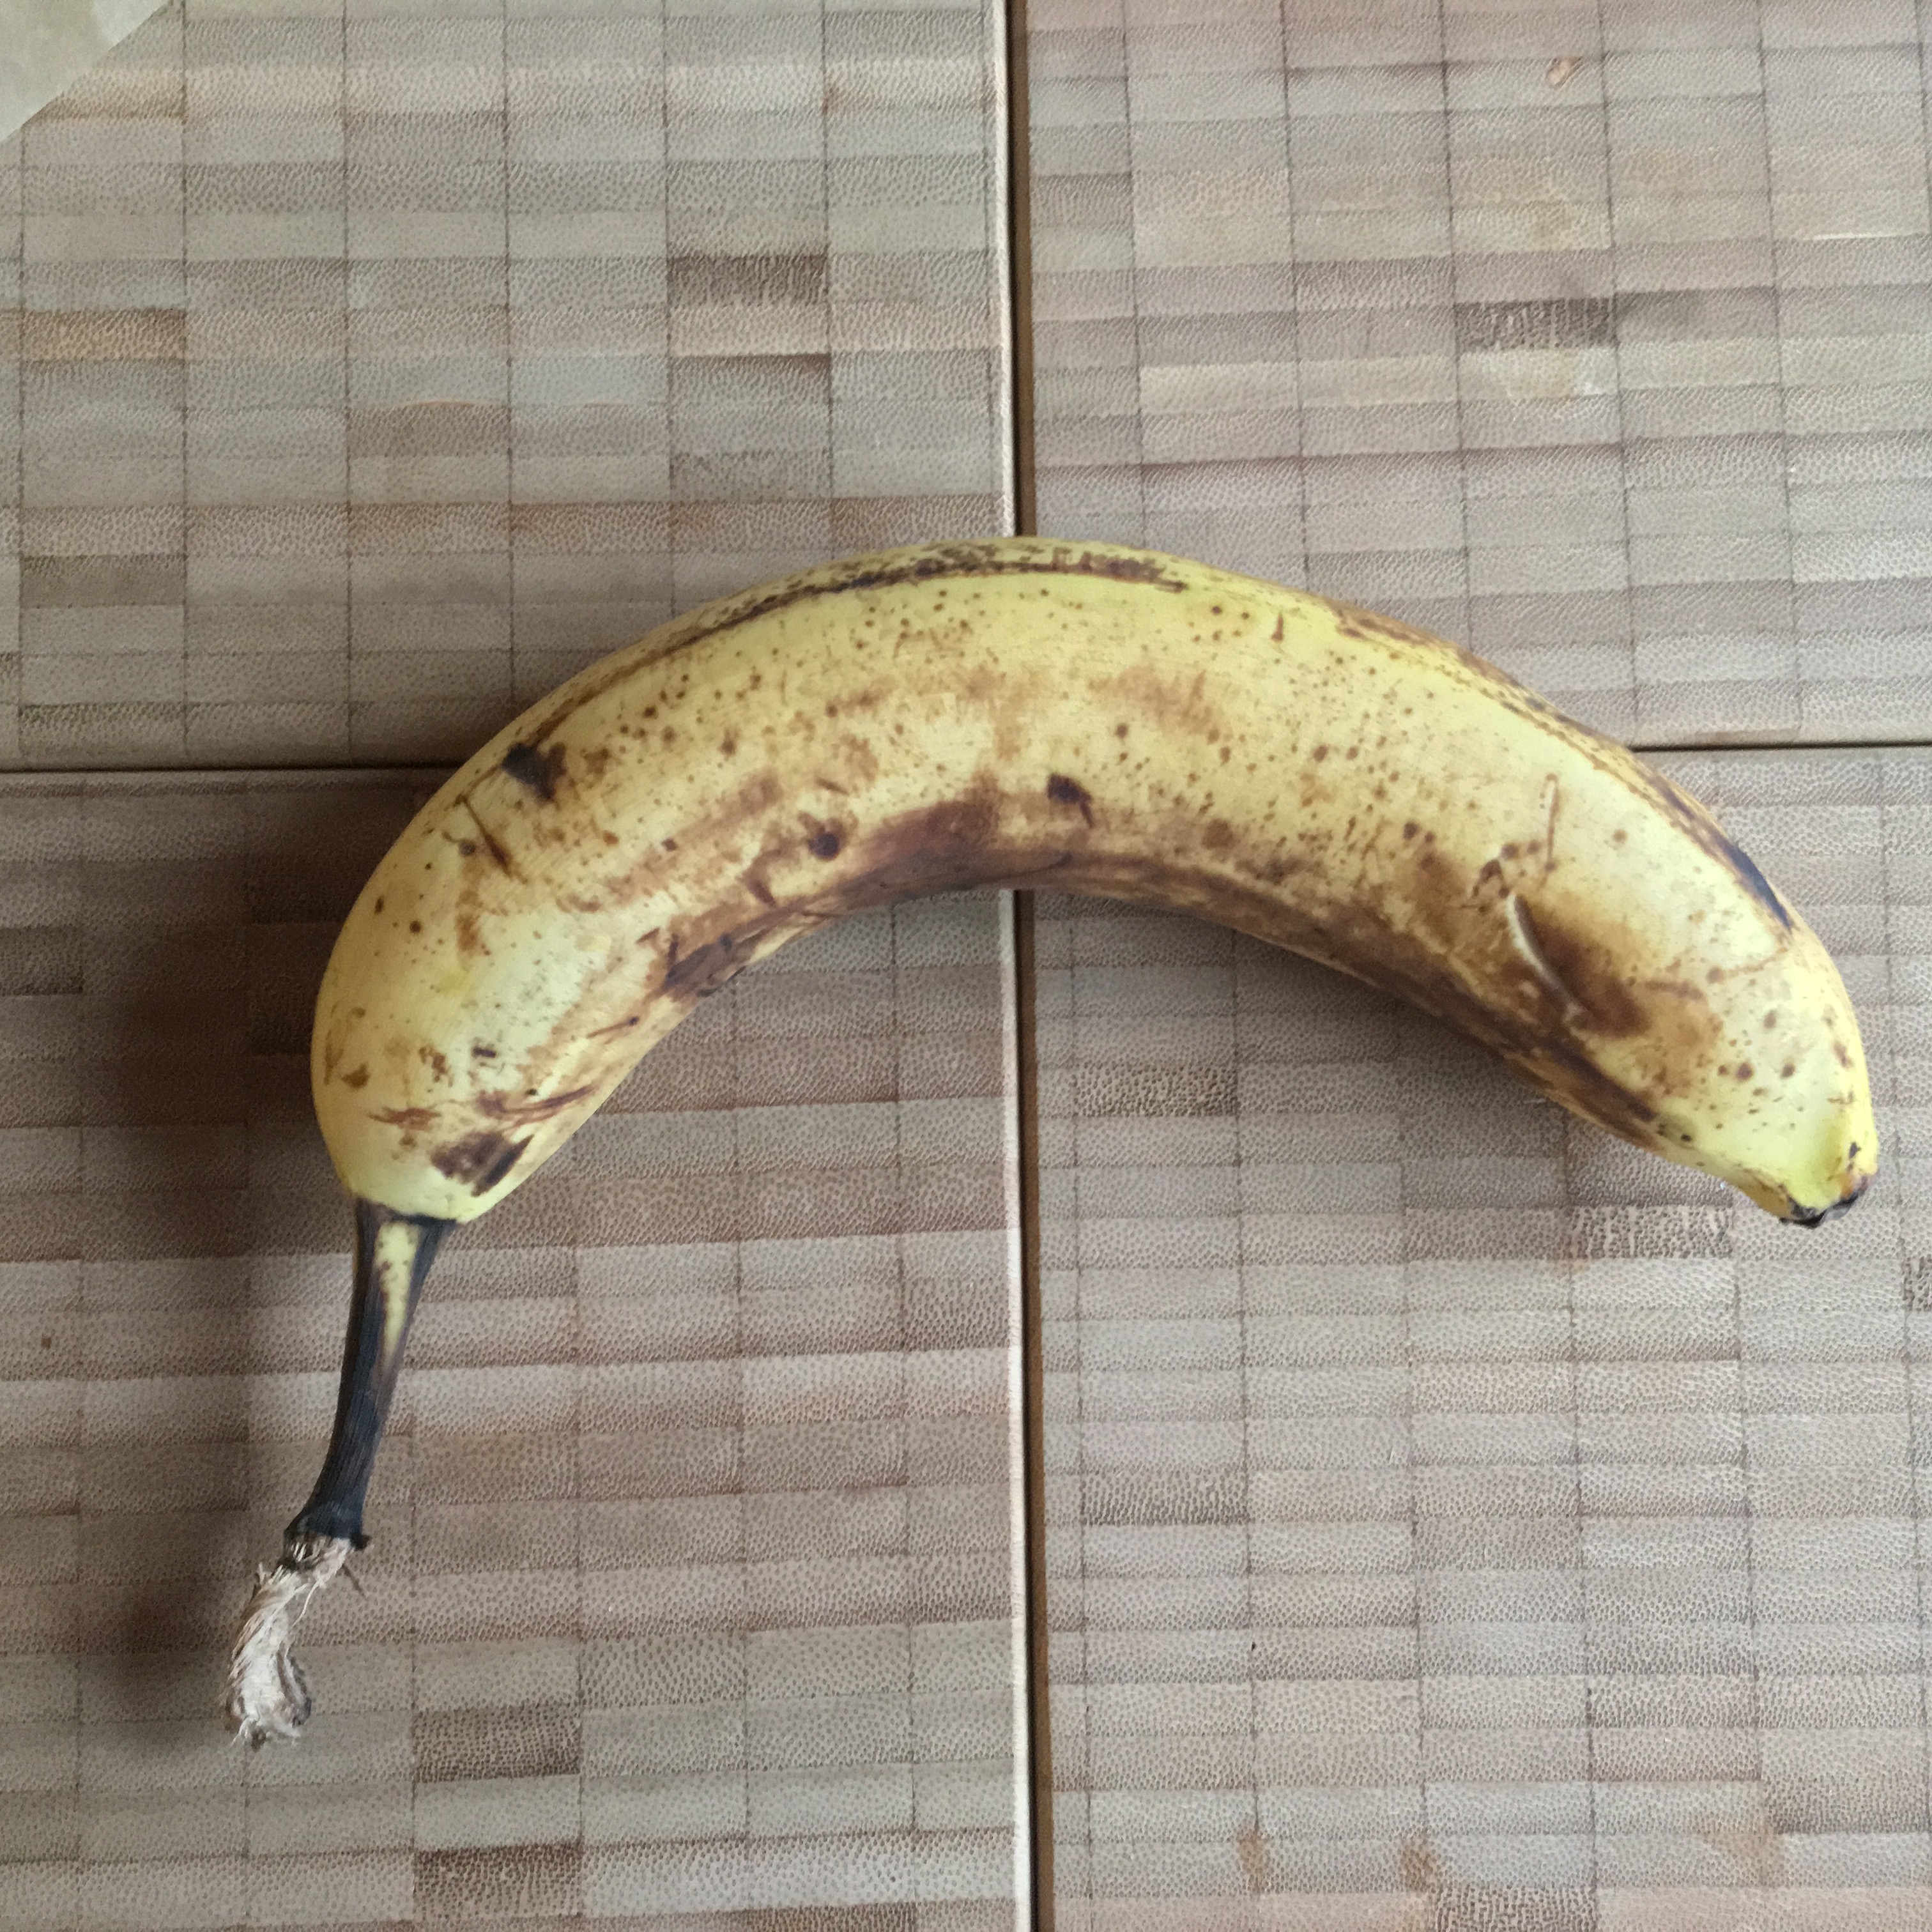
Yes – you definitely need RIPE bananas. So buy you bananas some days before your baking adventure because most of the time the bananas in your trusted food store are rather firm & fresh. 3-4 days somewhere on your kitchen counter will help them ripen.
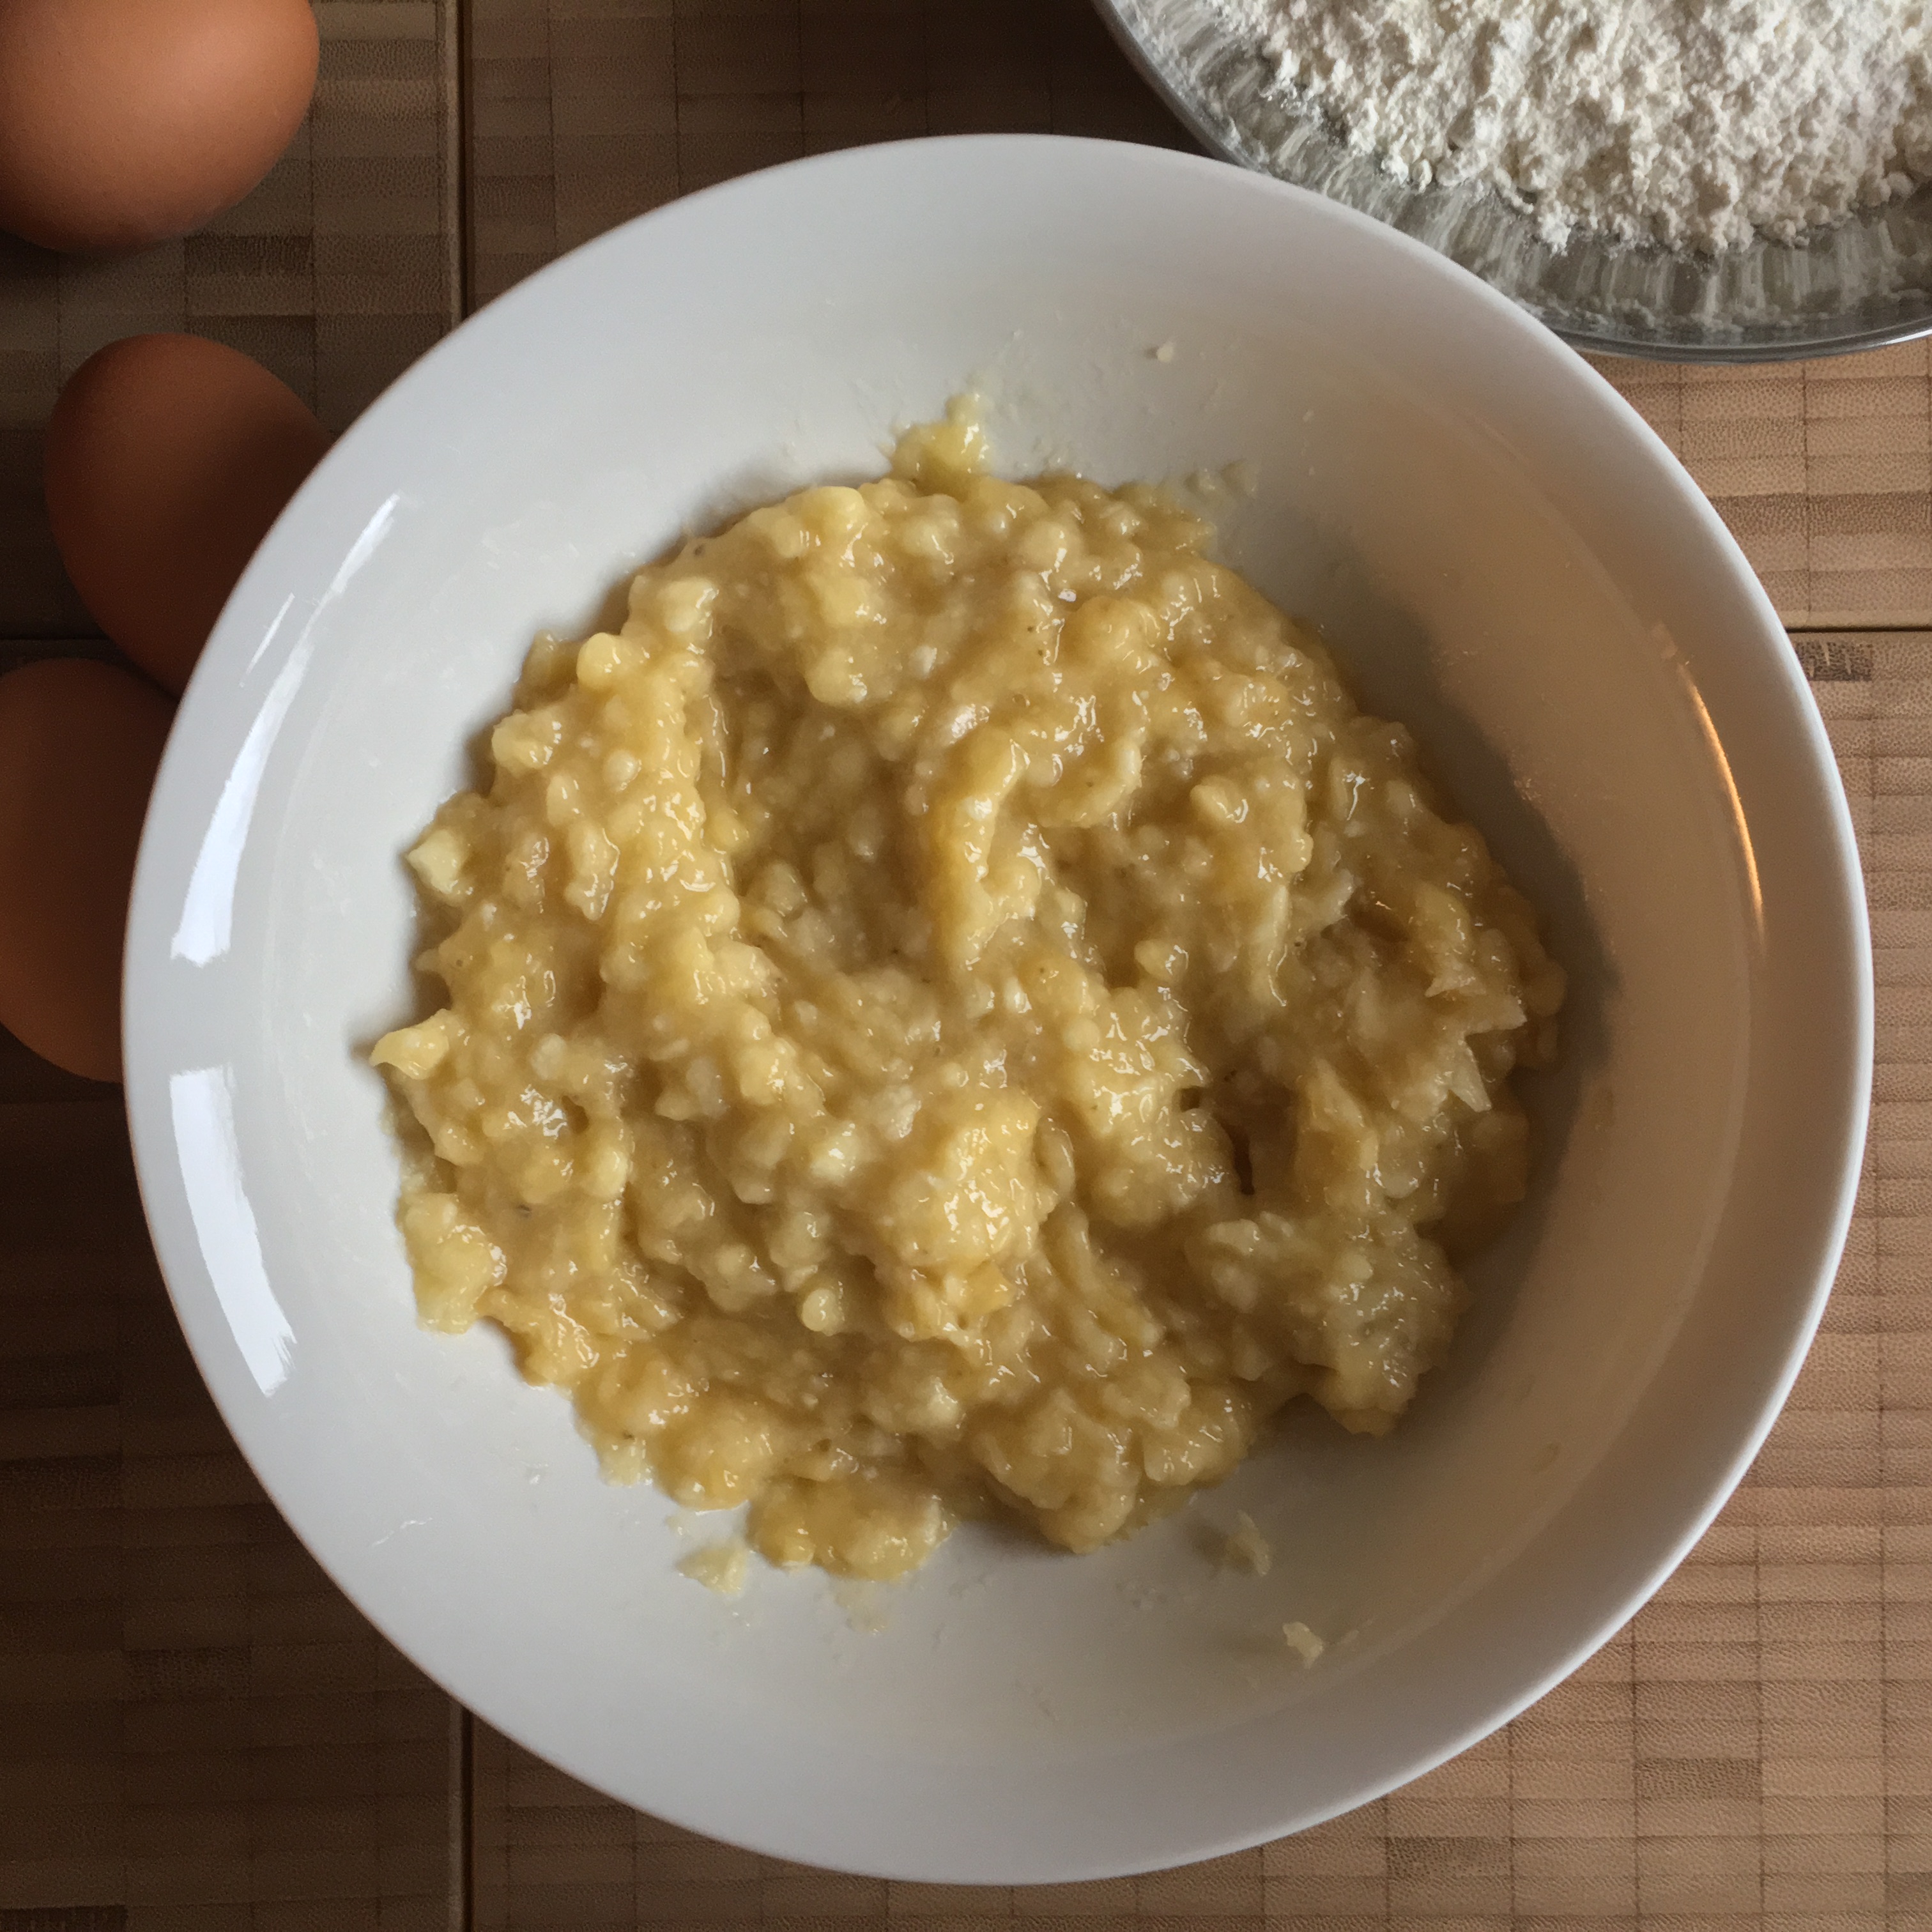
We start w/ peeling & cutting the bananas. Afterwards just mash them. I used the same mashing tool I use for cooked potatoes when preparing potato mash. Finally I used a fork to mince it a little more, however, bits of bananas should remain.
… & don’t forget to preheat your oven to 170° C fan!

We mix the flour with baking powder & cocoa.
During my 1st banana bread adventure I used chocolate chips – now I thought of cocoa: a fine intensive cocoa for baking.
Furthermore mix butter & sugar w/ electric help; then add the eggs & mix thoroughly w/ electric help until everything is a smooth mess.
Finally we pour the sugar-butter-egg mess into the flour mix & mix – once again.
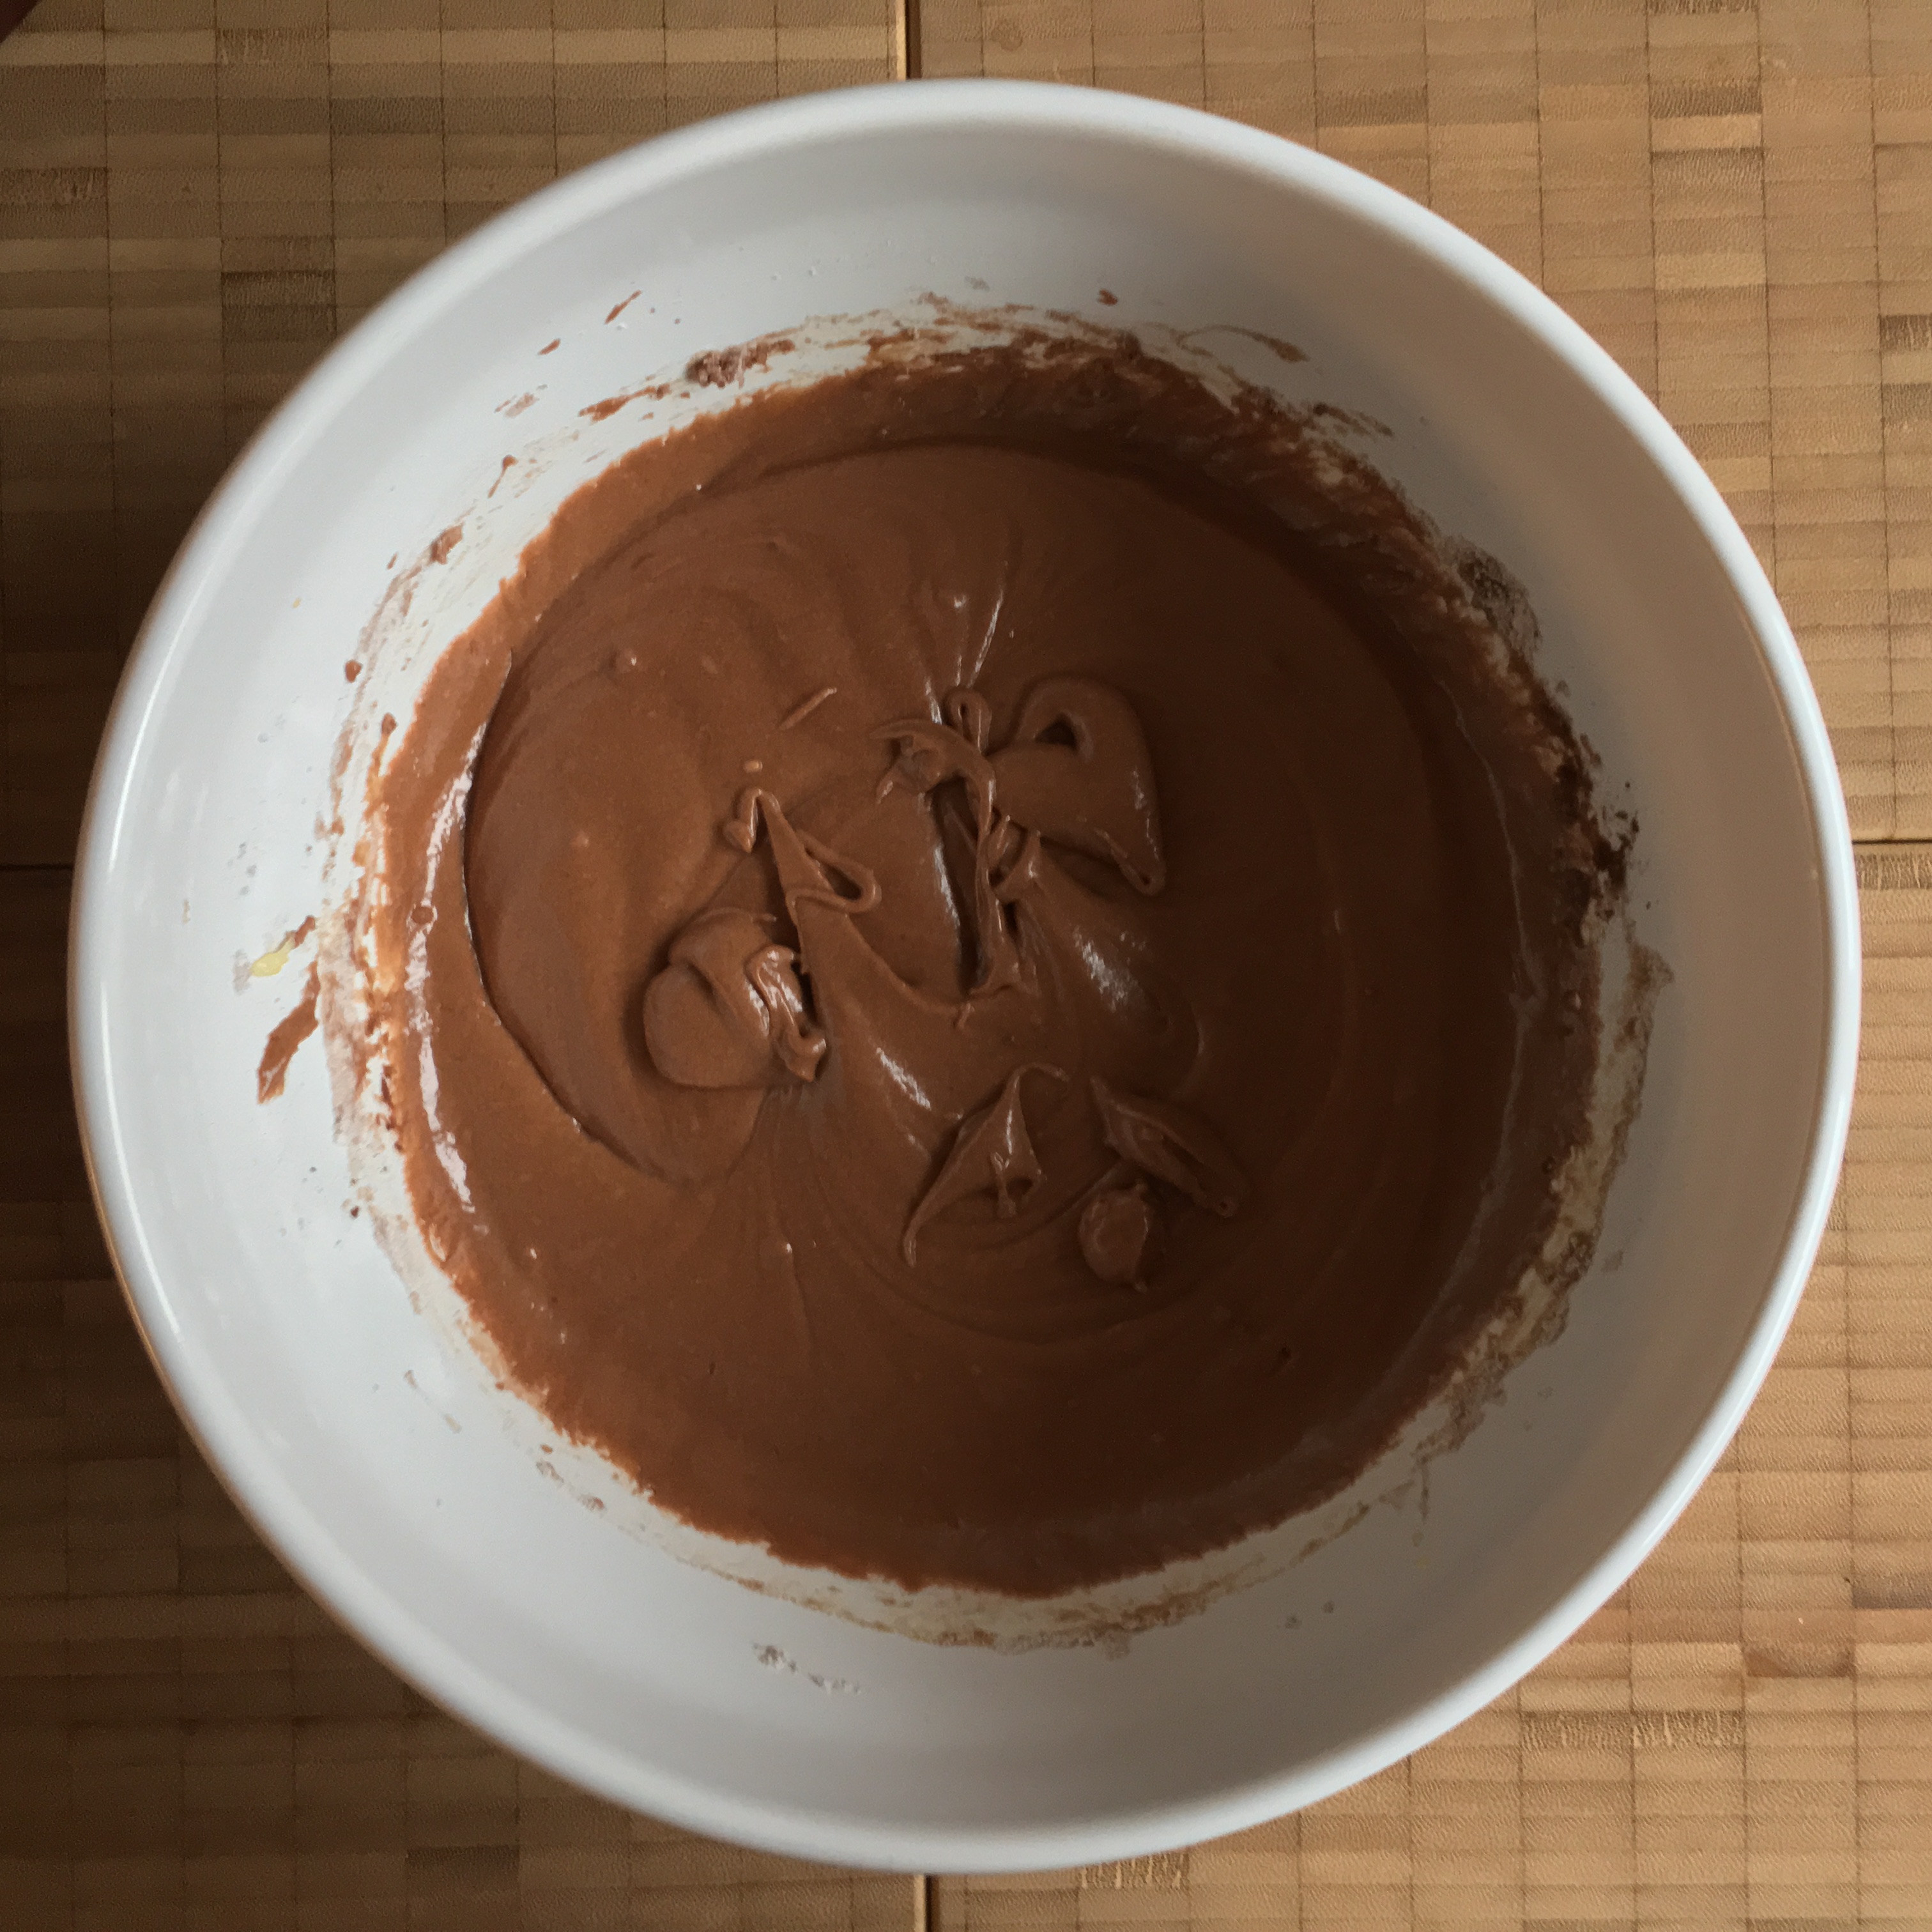
Just add the mashed banana pulp & fold in w/ a spoon. All the fluid comes from the banana mash; we don’t need any milk or cream or whatever for this bread.
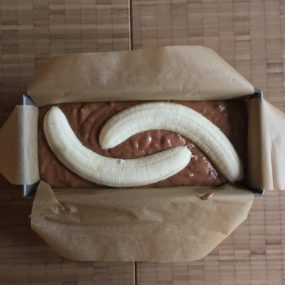
The whole mess marches now in our prepared loaf tin.
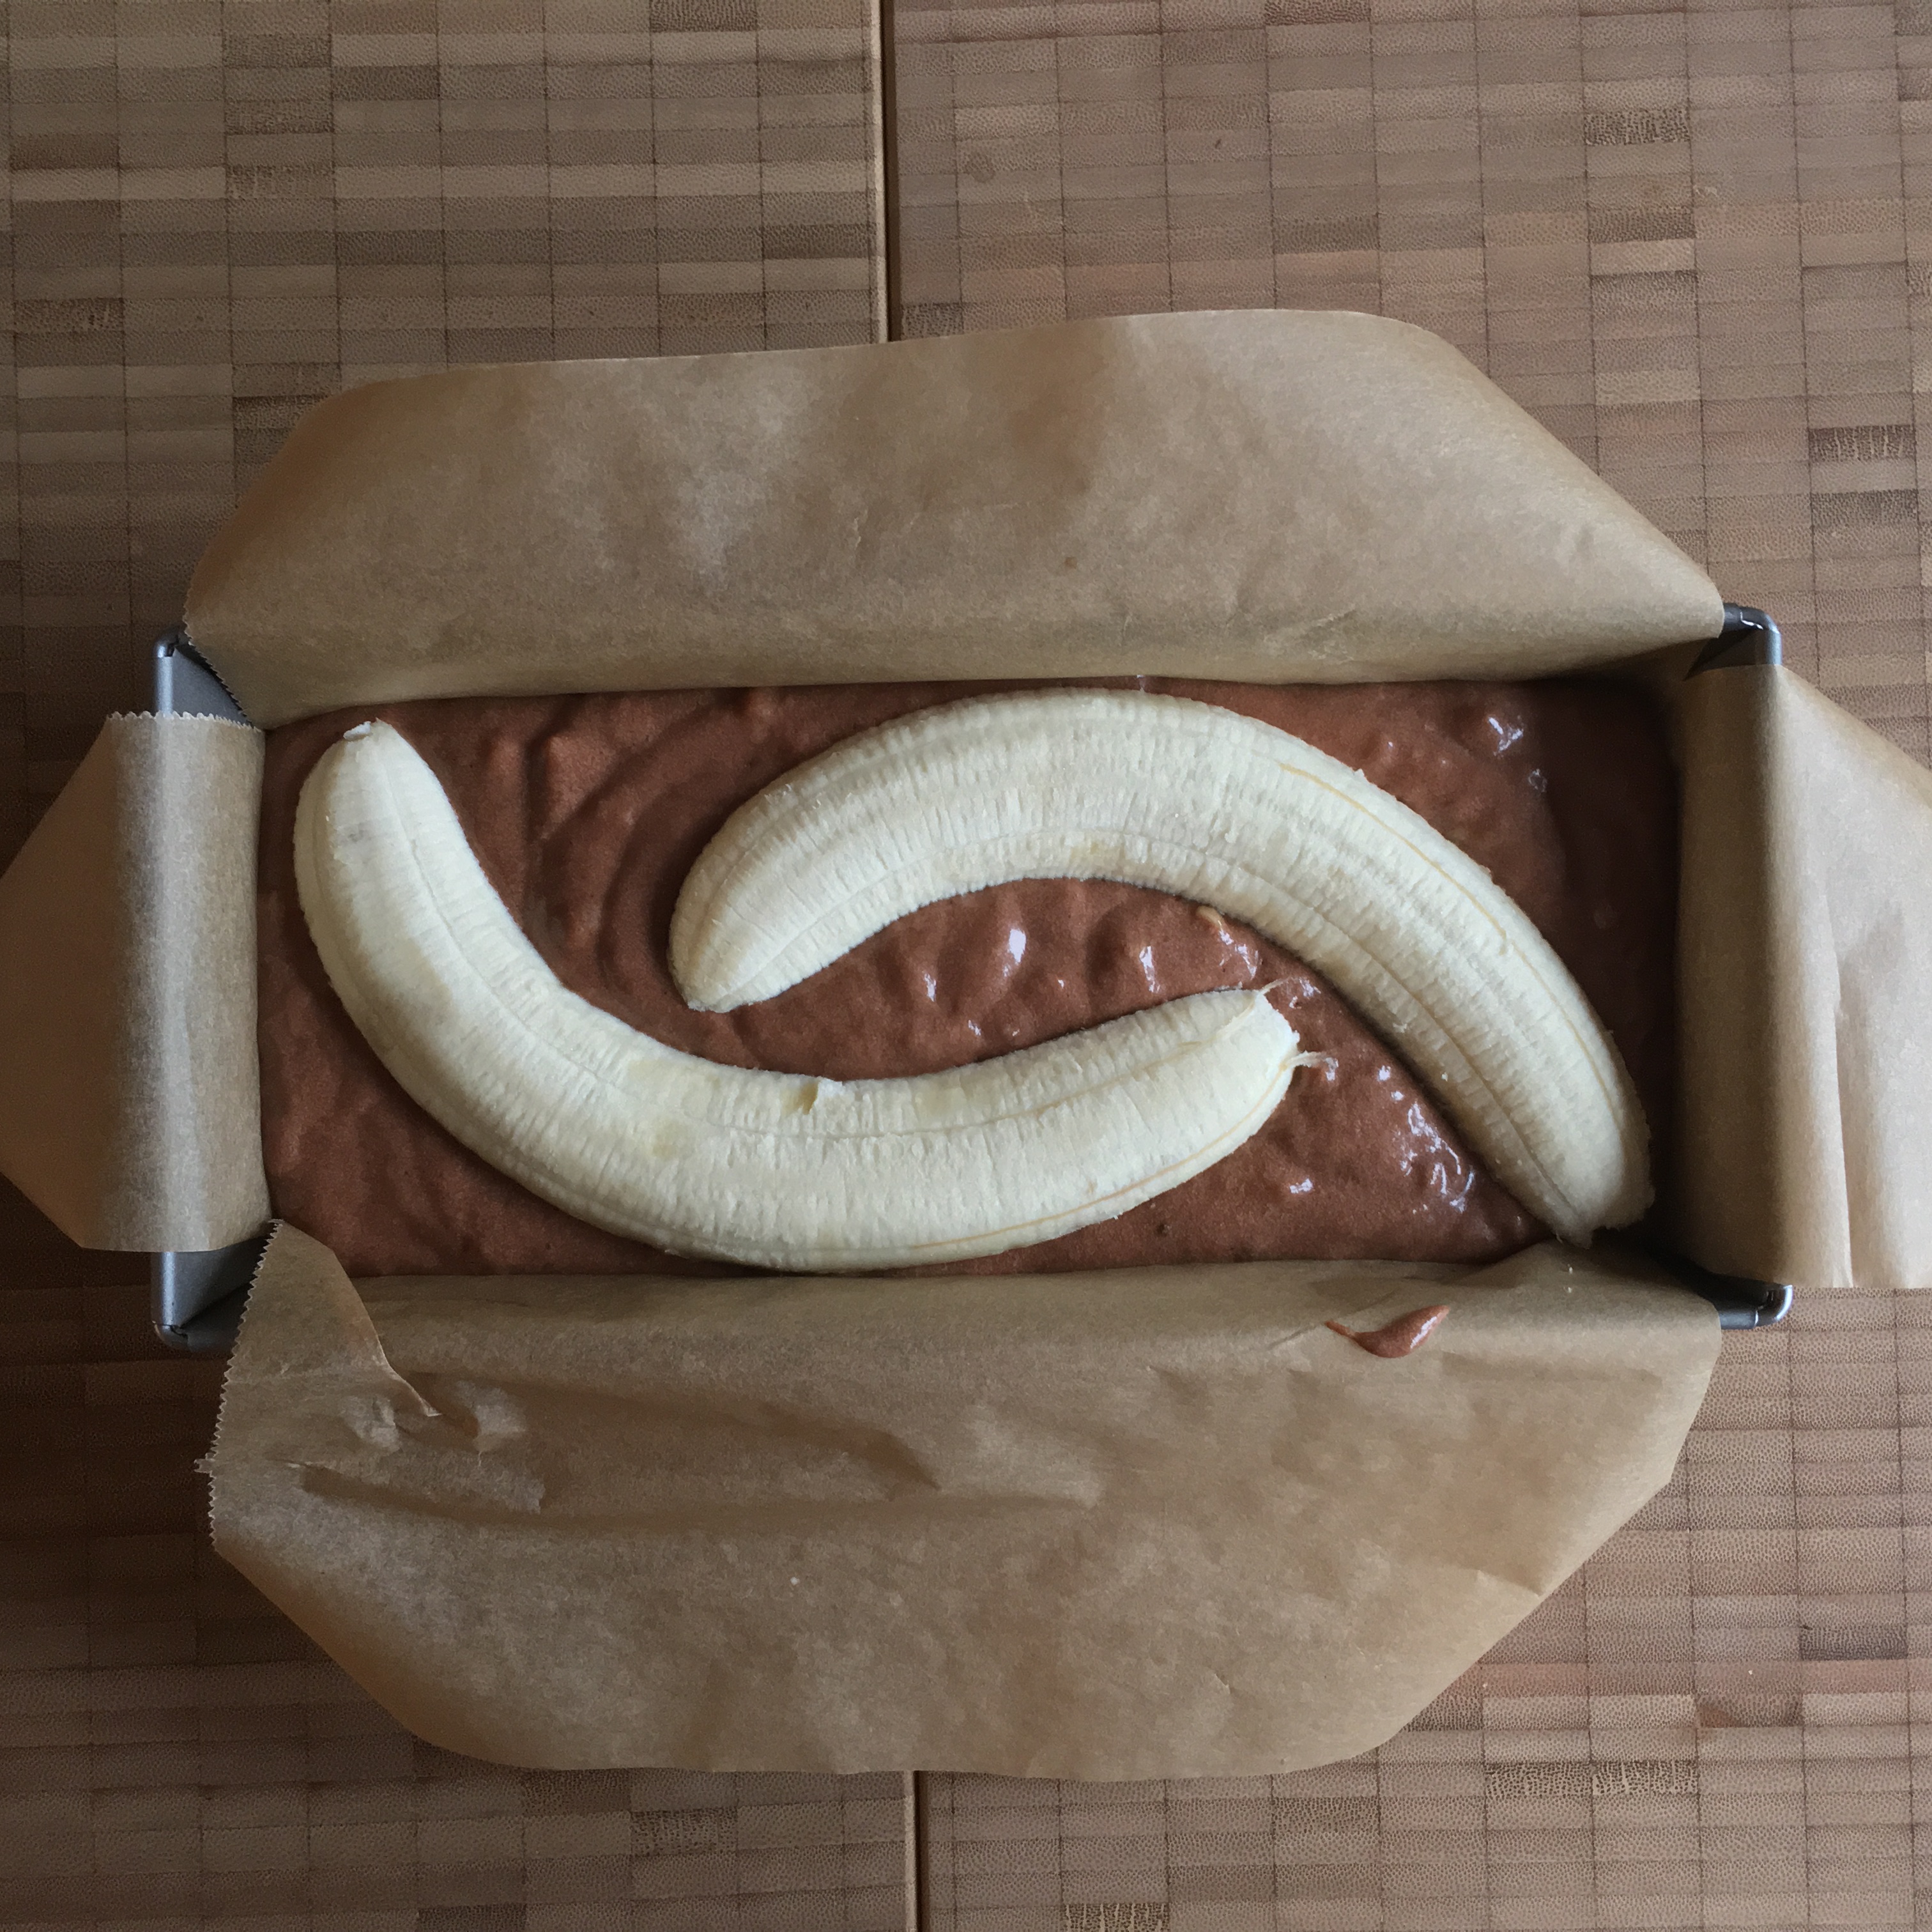
Don’t forget to line the tin crosswise w/ baking parchment!
(If the baking parchment is too „nervous“ just add a drop of oil to the tin & distribute w/ kitchen paper. The baking parchment will adhere to the tin at once!)
In the recipe you’ll see that I use 4 bananas. 3 of them are mashed … The last banana will become some sort of decoration.
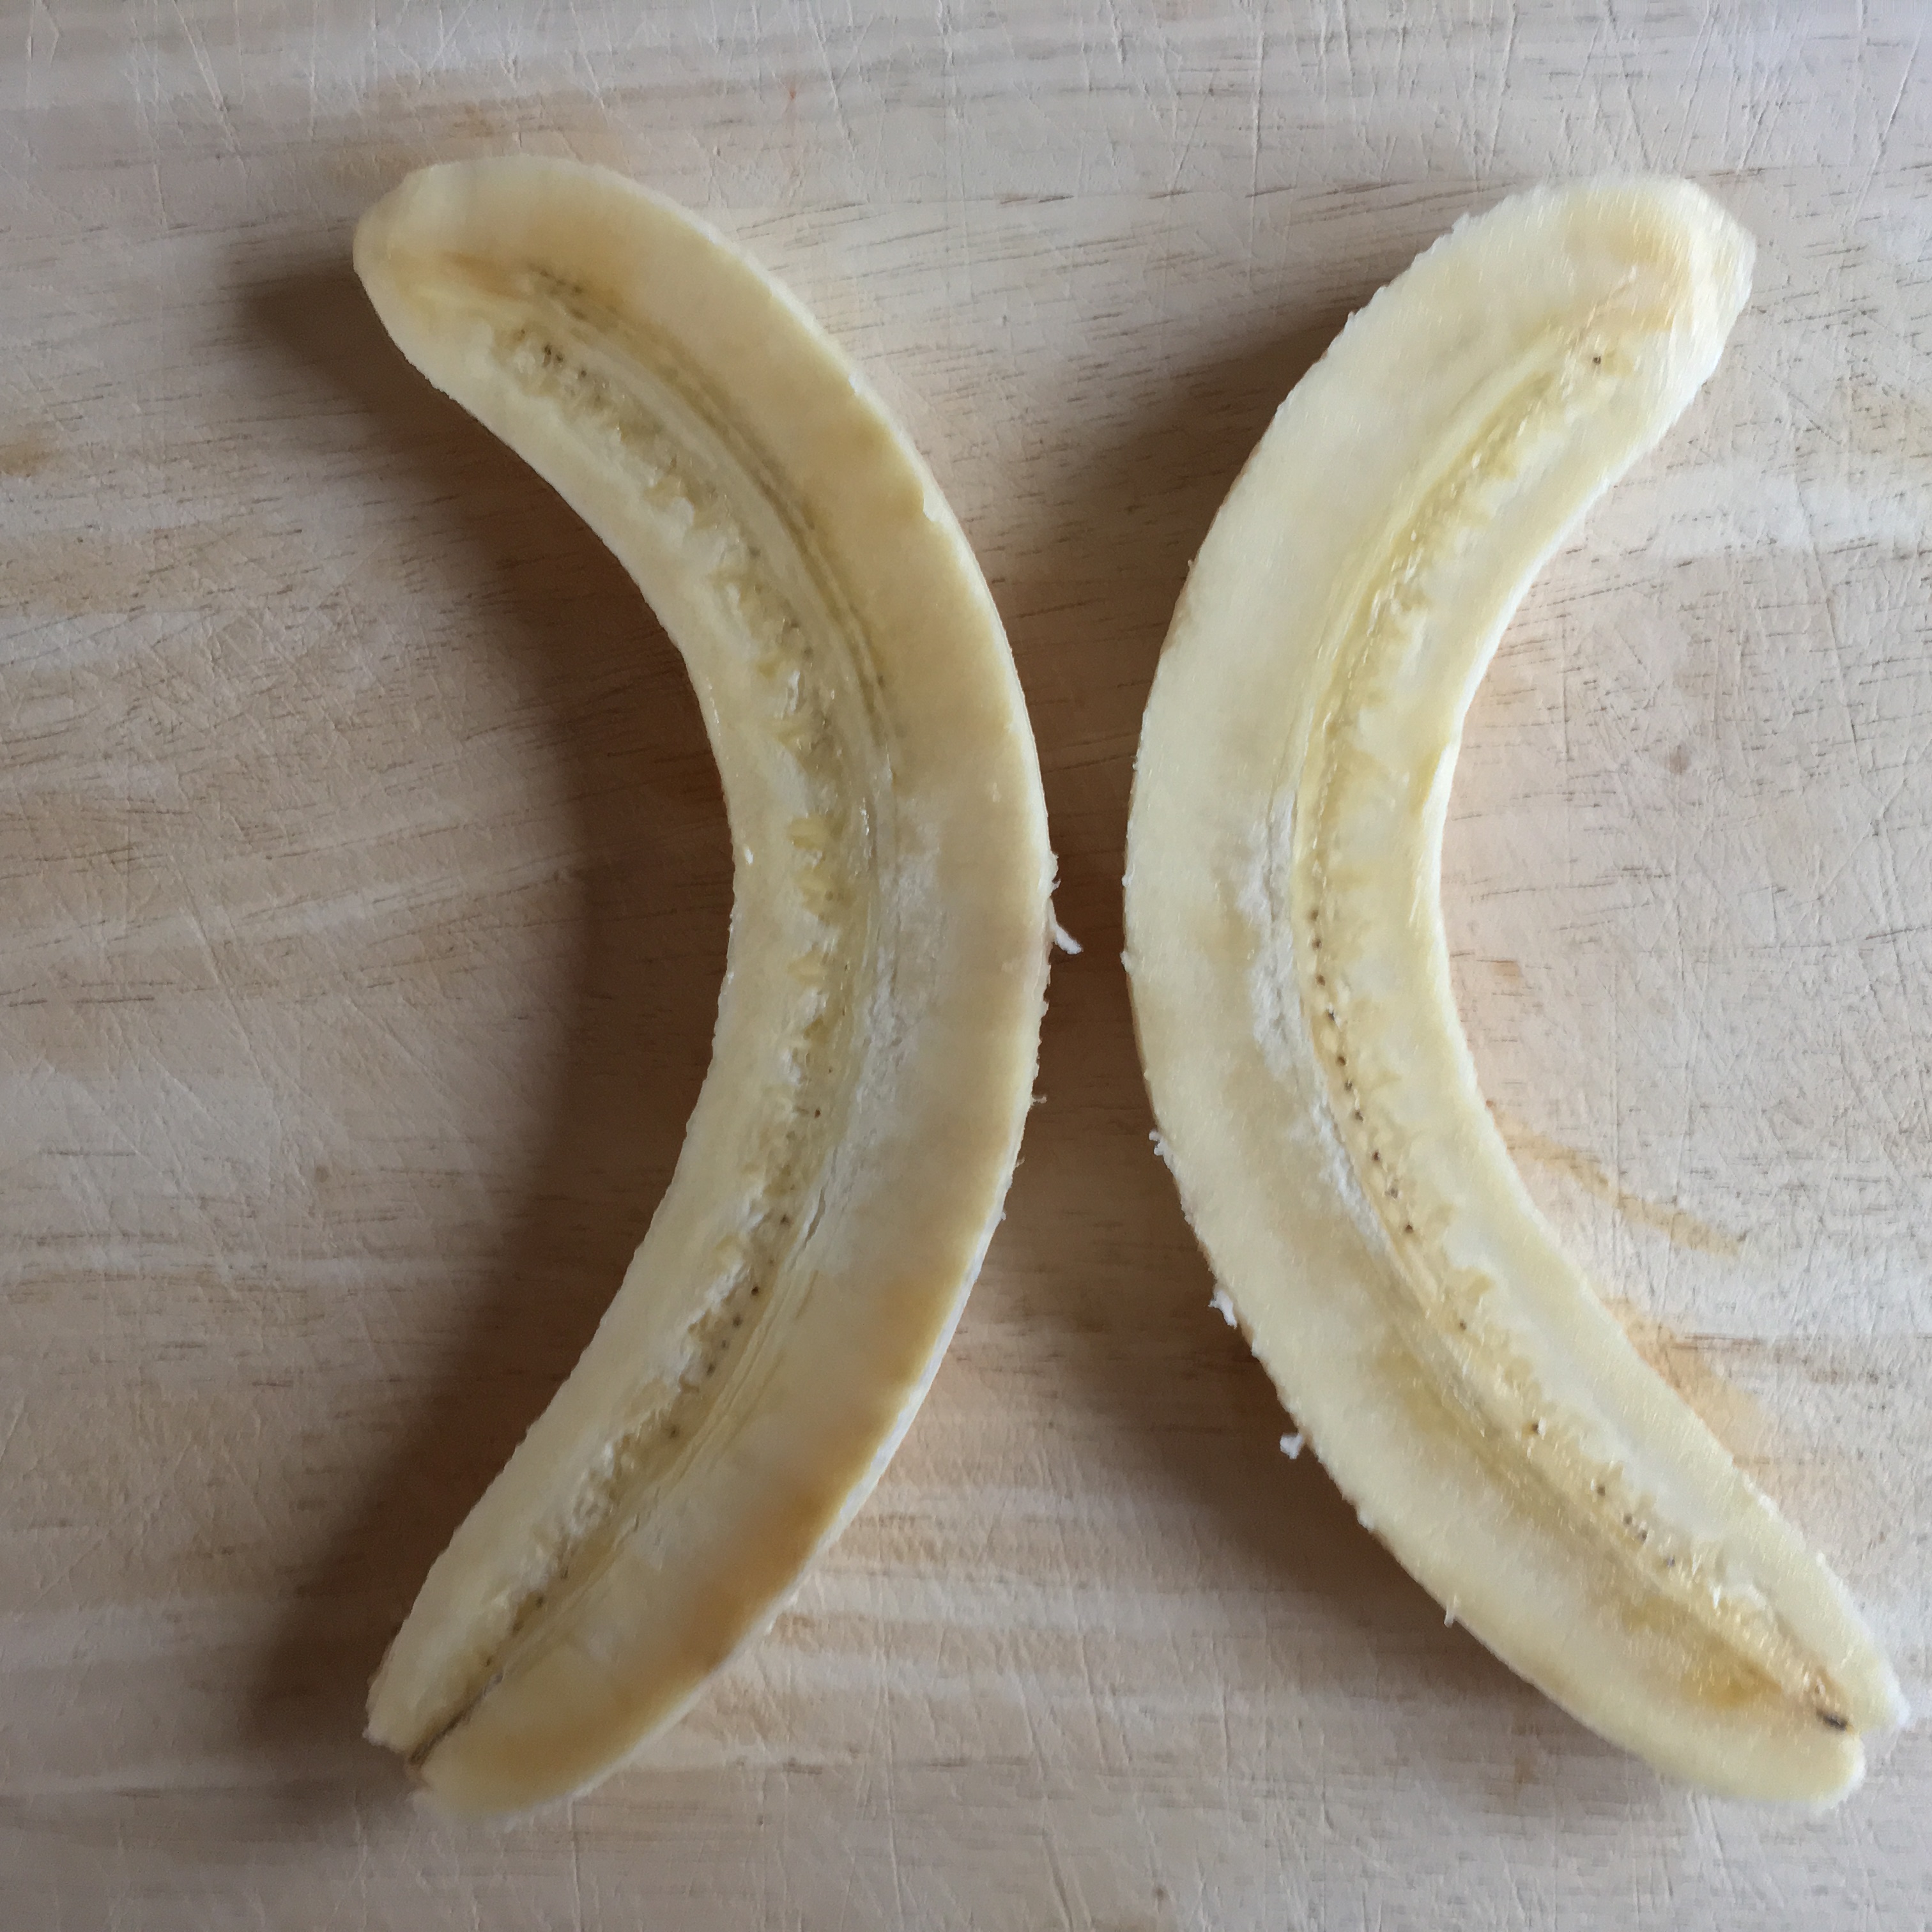
Just peel it & cut it lengthwise.
The banana will be on top of the cake.
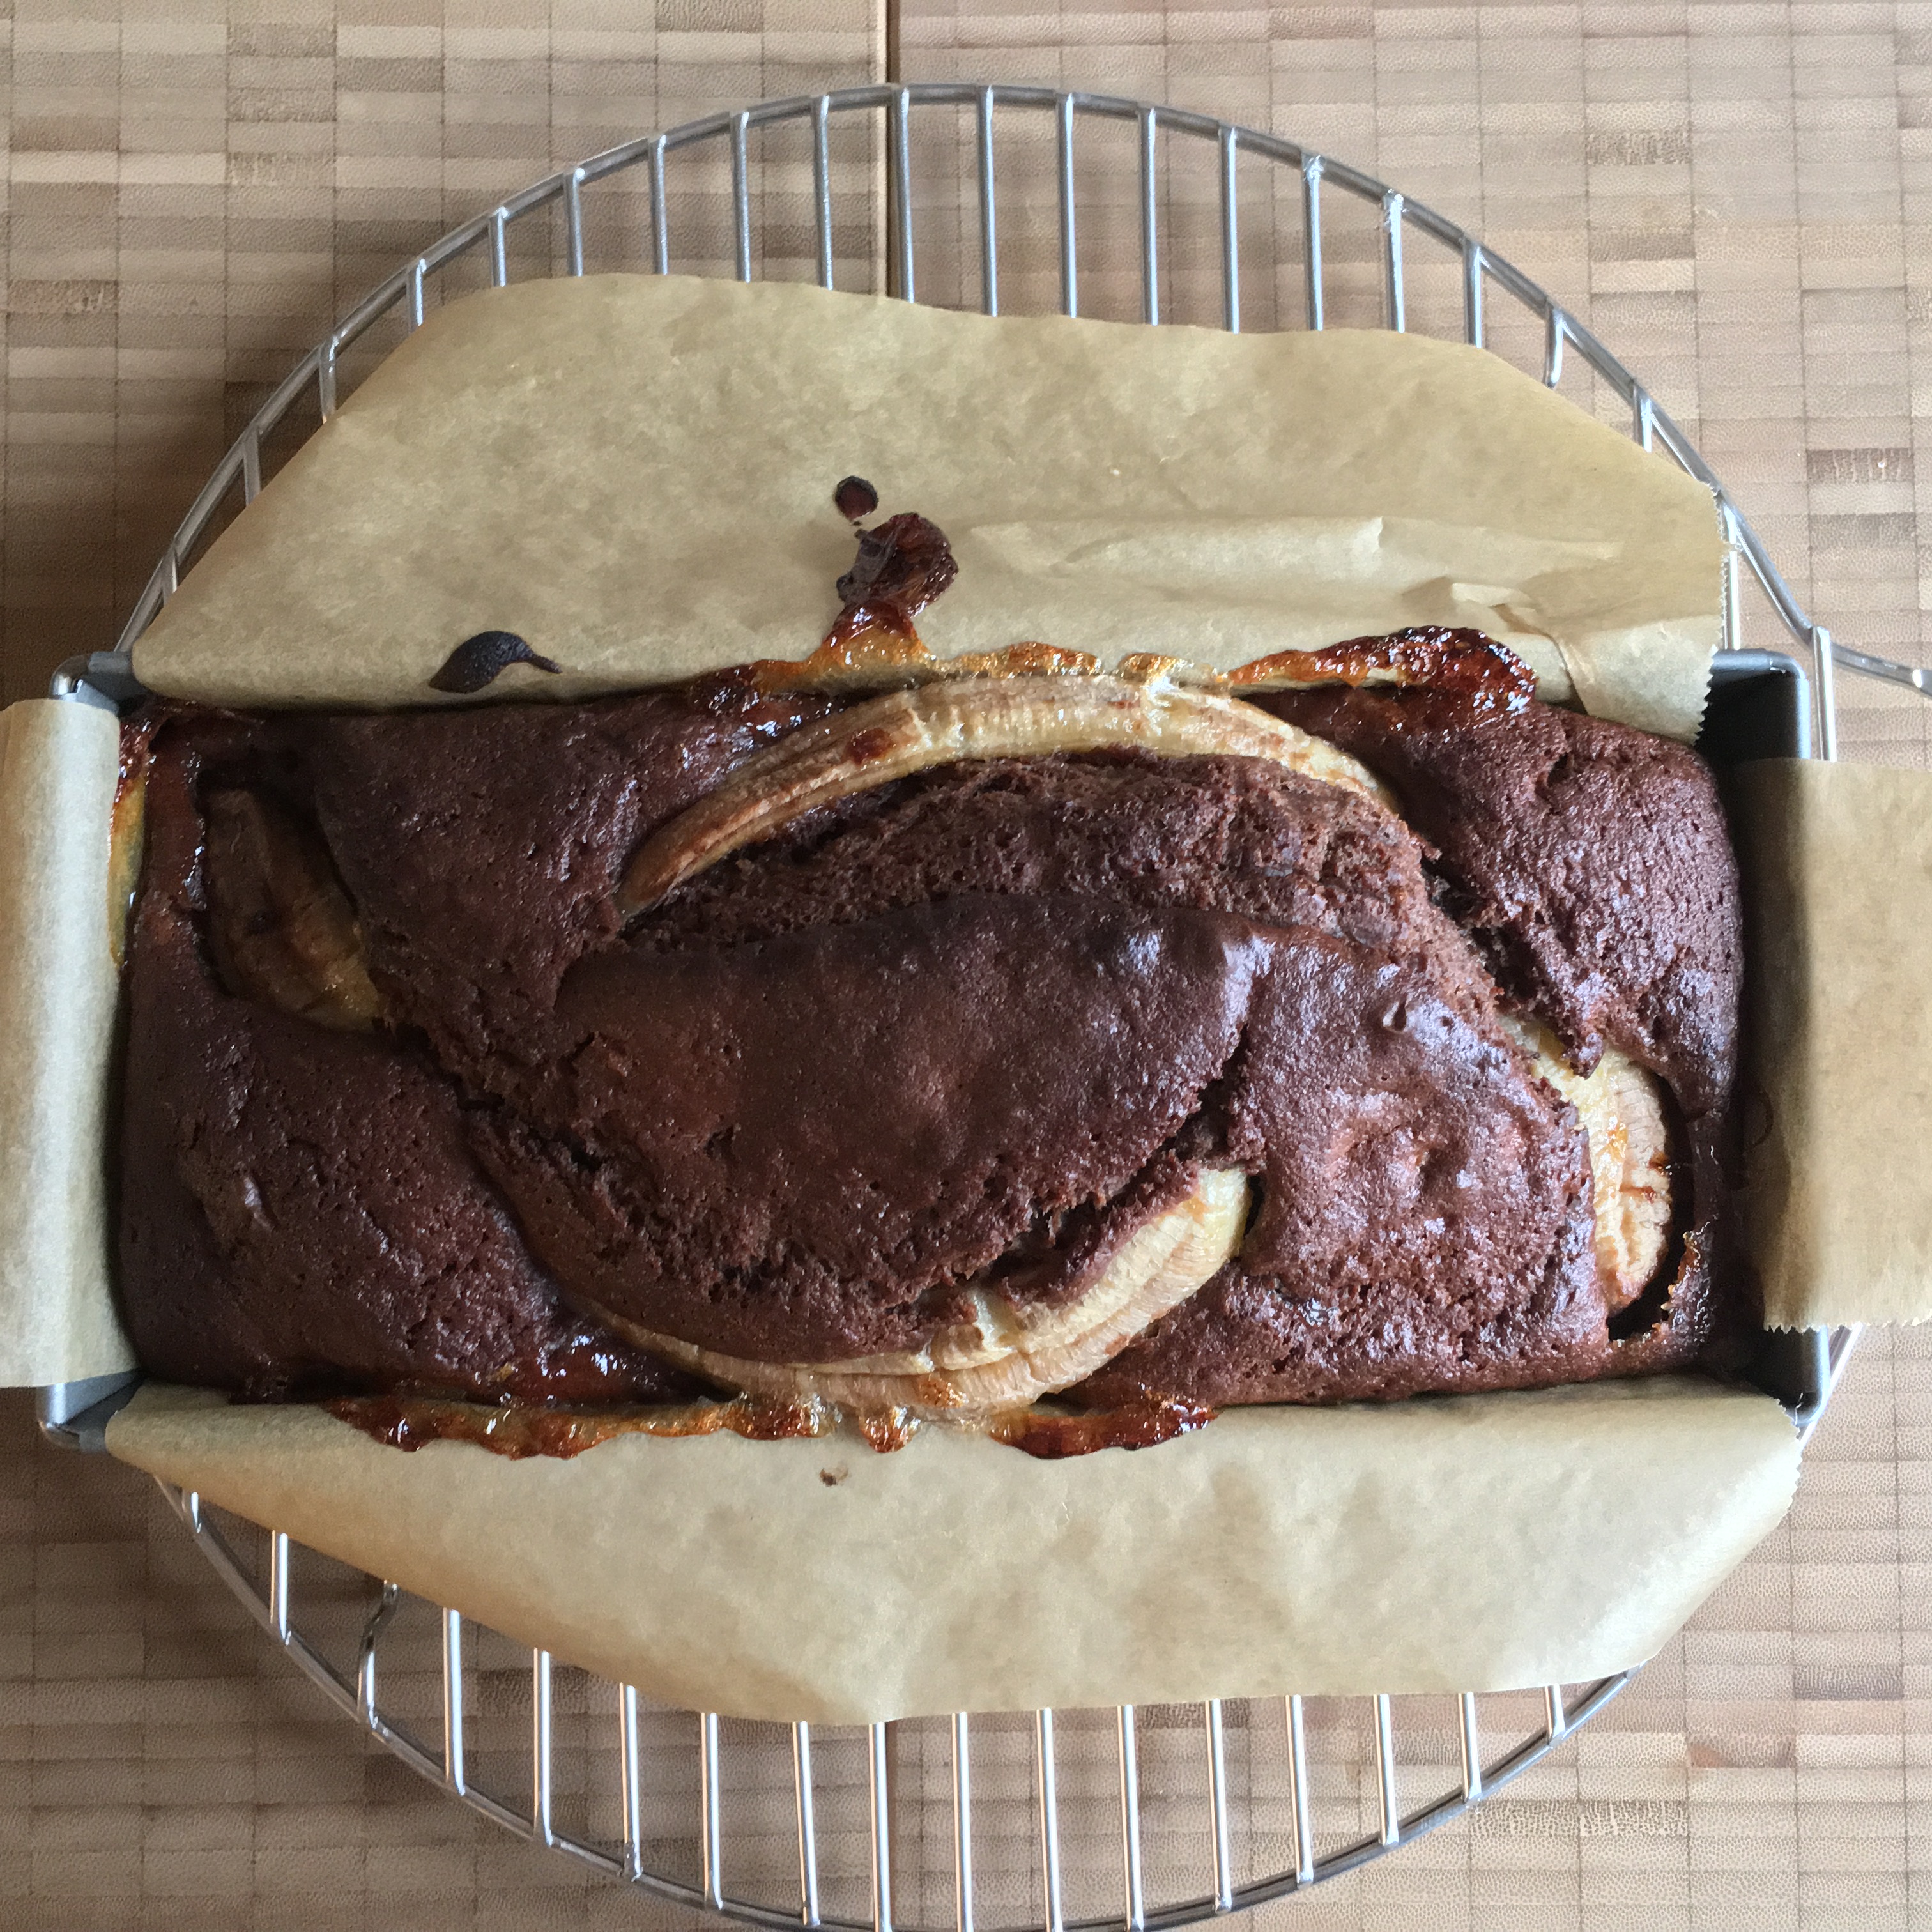
After the baking session my banana halves were almost covered w/ cake (…while the photos in the internet…) Nevertheless it’s a delicious cake!
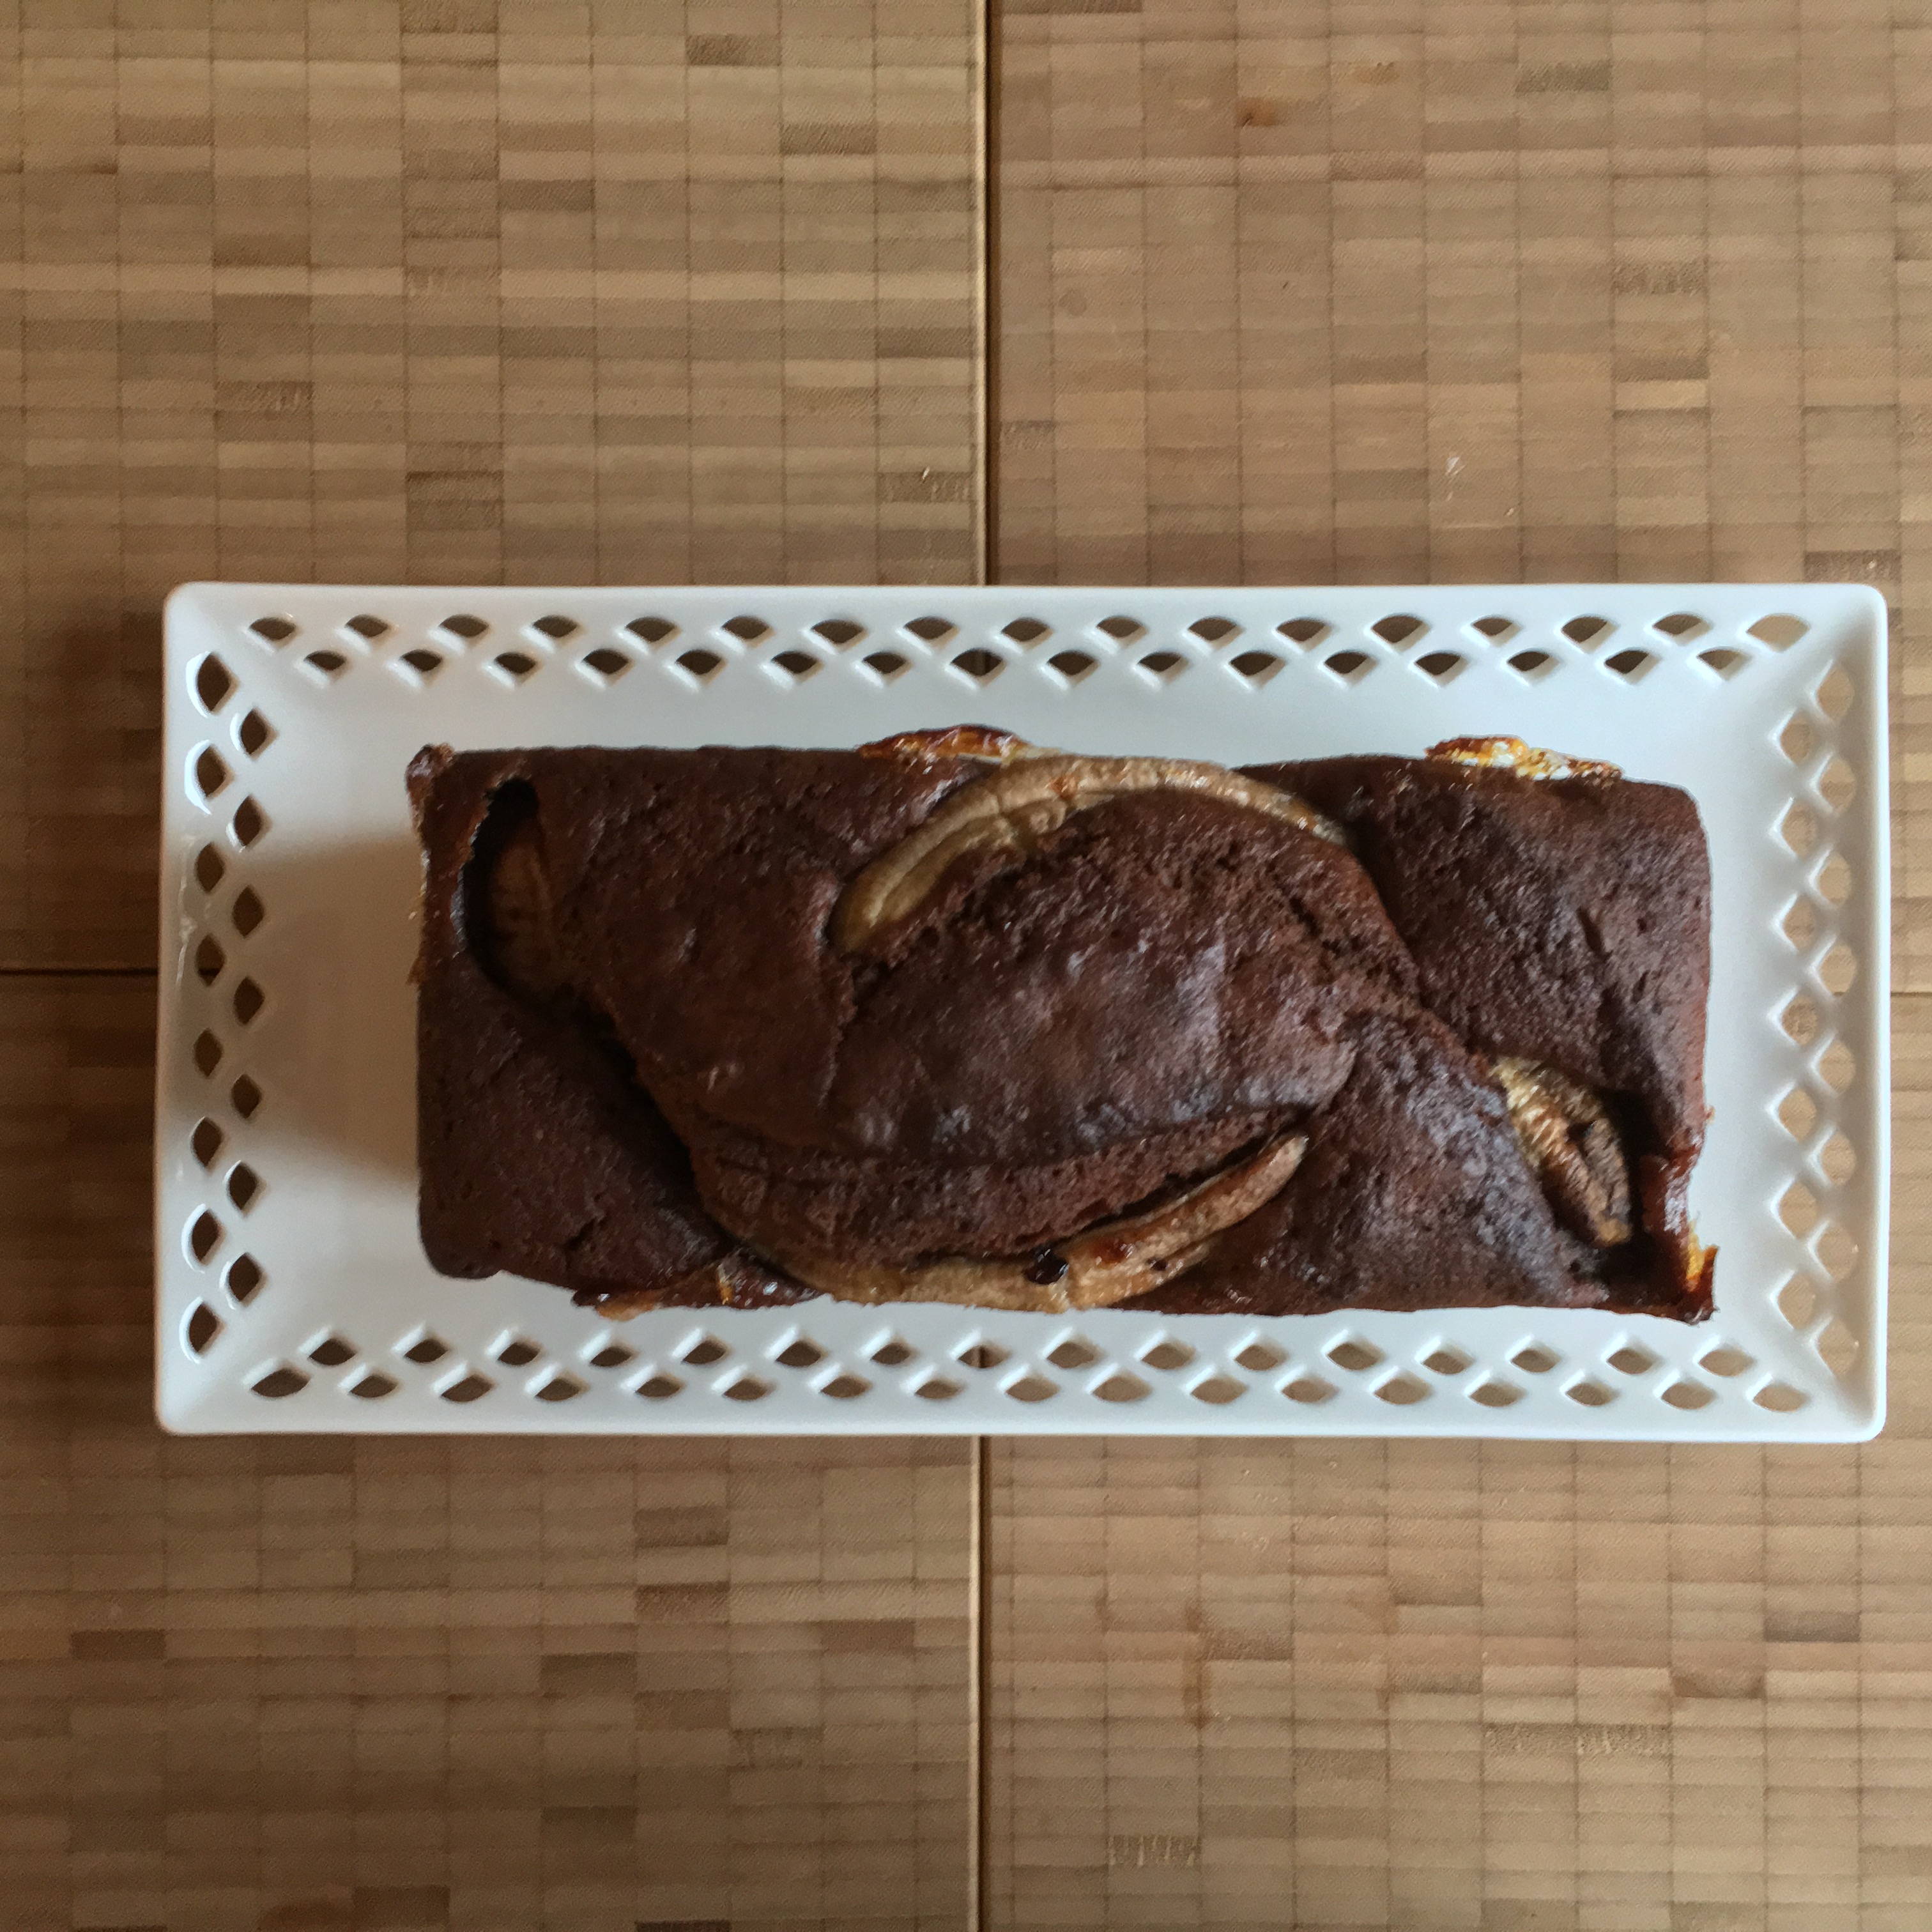
Enjoy!
- 200 g all-purpose flour
- 1 tsp baking powder
- 80 g butter
- 125 g sugar
- 2 tbsp vanilla sugar
- a pinch of salt
- 4 eggs
- 2 tbsp cocoa
- 3 ripe bananas
- 1 ripe banana (for decoration)
- a loaf tin 25 cm
- a handheld electric mixer
- Preheat the oven to 170° C fan.
- Line the loaf tin w/ baking parchment (all sides – crosswise).
- Mix flour, baking powder & cocoa; set aside.
- Peel the bananas & mash the bananas like you mash cooked potatoes; finally use a fork. Some small bits should remain. Set aside.
- Mix butter, sugar, vanilla sugar & salt with a handheld electric mixer.
- Add eggs & mix well.
- Add flour mix & mix until you get a soft dough.
- Add the banana mess & fold in w/ a spoon.
- Fill the mess in the loaf pan.
- Peel the last banana & slice into 2 halves. Add the halves on top of the mess.
- Bake in the oven for about 50 min.
- Make the famous test w/ the wooden pin…
- Let it cool down for 10-15 min; then get the banana bread out fo the loaf tin & let it cool down.