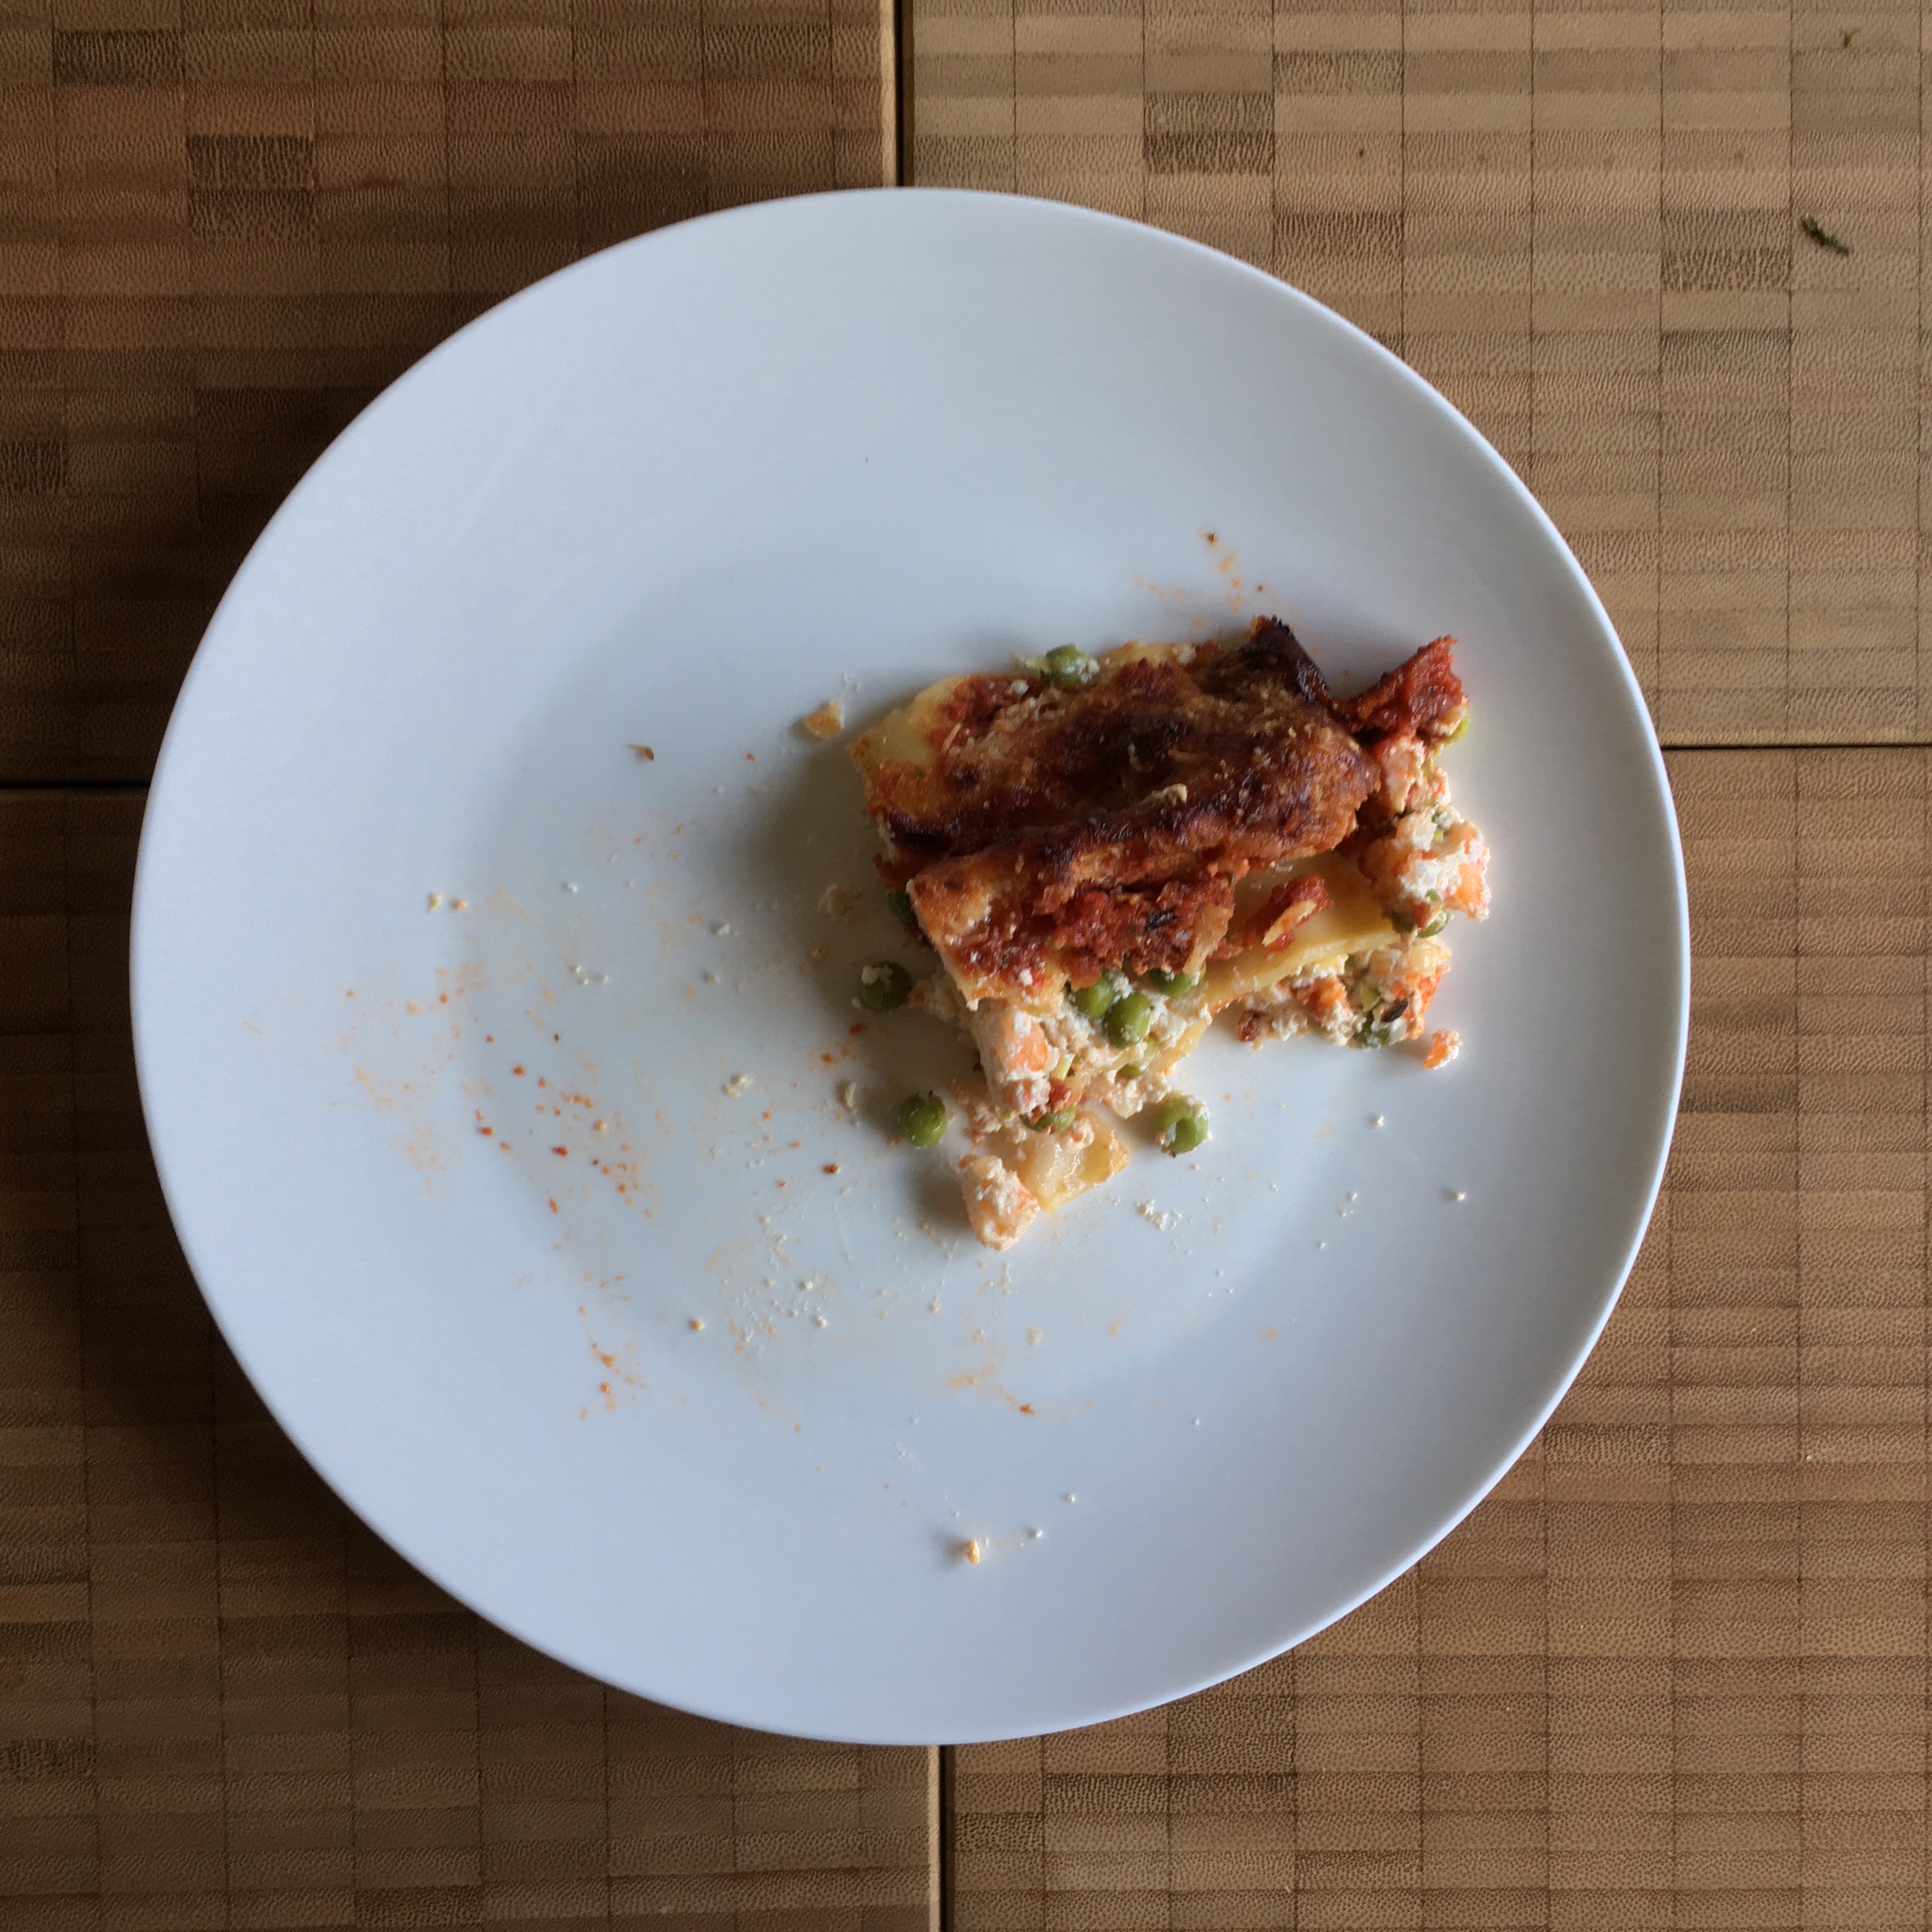
I love cannelloni!
Just imagine the hot & bubbling mix of pasta & vegetables & meat or seafood covered in melted crispy cheese coming out of the oven … Remember how to attack the casserole in order to grab the 1st serving & transfer it onto a plate w/o any damage (it’s always easier when the 1st serving has left the casserole!).
Maybe it’s because a cannelloni dish is so easy & fast to prepare – maybe it’s because you can work w/ a large casserole of cannelloni & afterwards freeze the leftovers for another dinner. (Reheating in the microwave is always fine w/ cannelloni!)
On the other hand cannelloni are versatile: there is the classic version w/ minced meat for the filling & there is the more modern version w/ ricotta & spinach. You may add a classic béchamel sauce or a light tomato sauce …
… & you may create your very own cannelloni filled w/ whatever you like or whatever is available in your fridge resp. pantry.
Okay: I’m not discussing any approach to homemade cannelloni i. e. preparing pasta from the scratch, roll out the pasta dough, cut out rectangular shapes, fill them, roll them up … I always work w/ ready to use cannelloni from my trusted food store which don’t need any precooking.
(… & it’s the same w/ lasagne!)
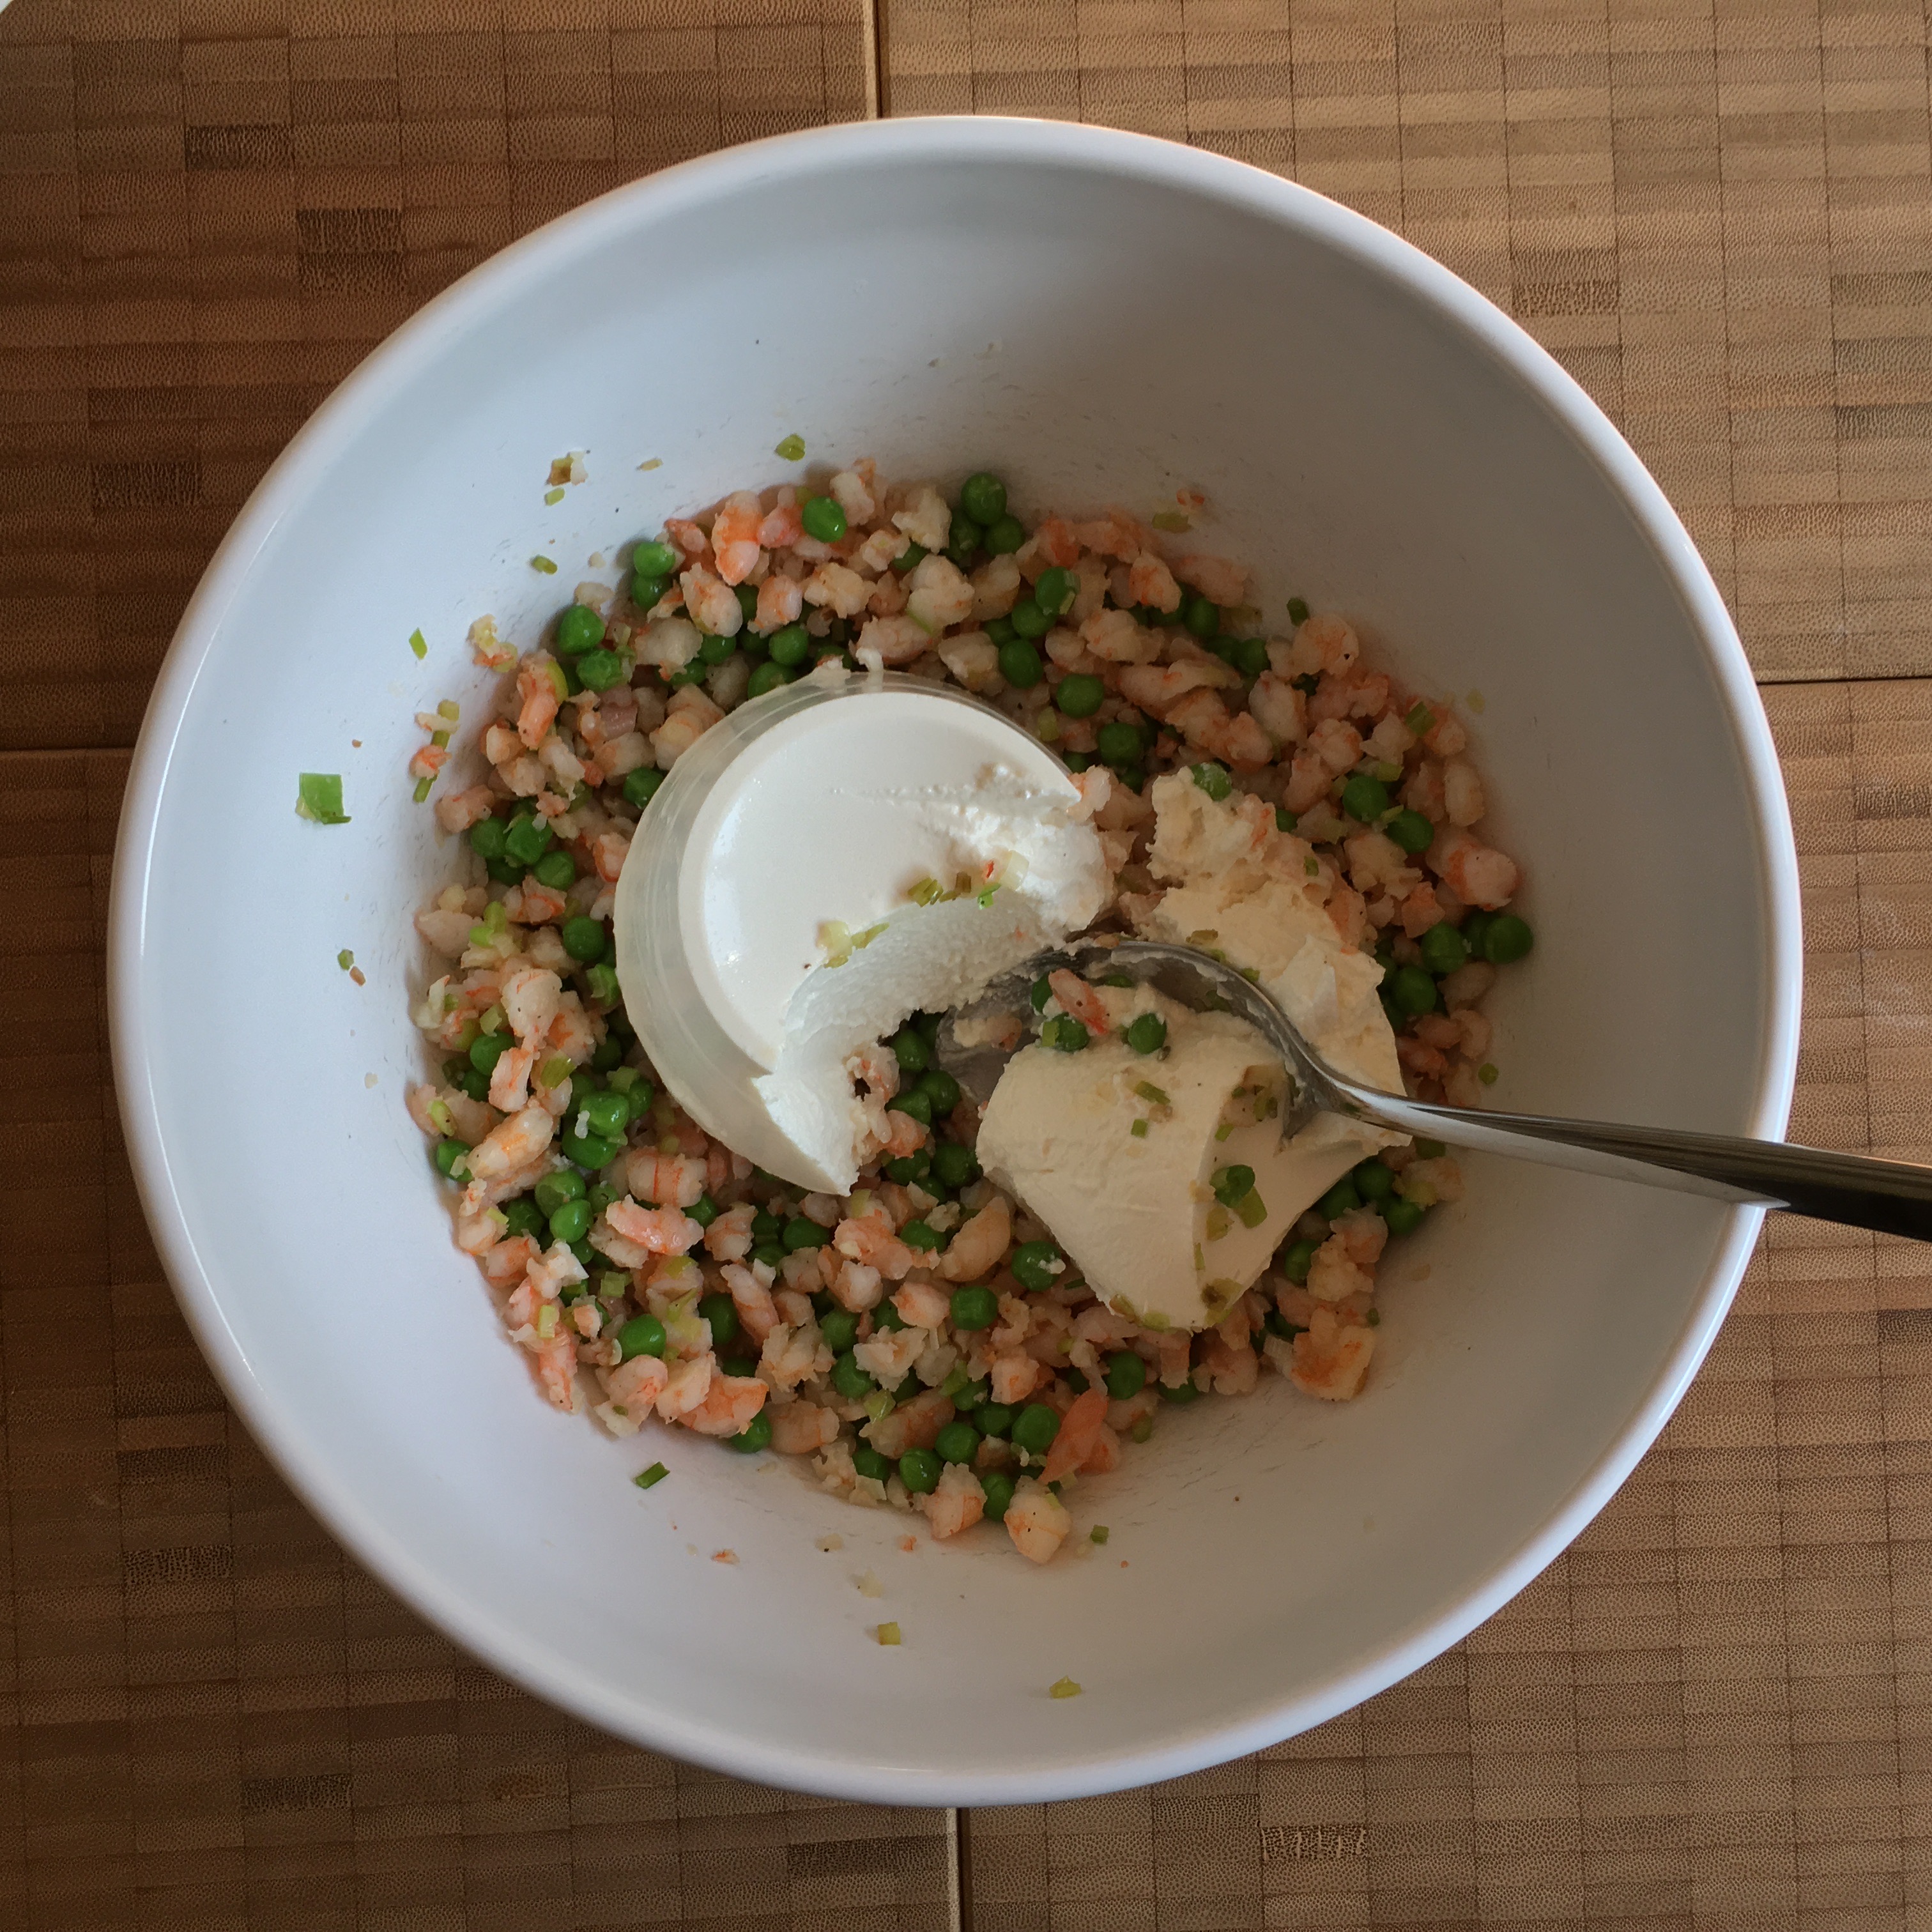
Today I’ll try cannelloni w/ shrimps & peas in creamy ricotta for the filling – everything covered by a thick tomato sauce.
Finally on top there is a layer of grated parmesan melted into the tomato sauce … at the same time creating a savory crust. So we get a mix of a rather delicate creamy filling w/ shrimps & peas – inside – and cheesy crispness – outside.
What do we need?
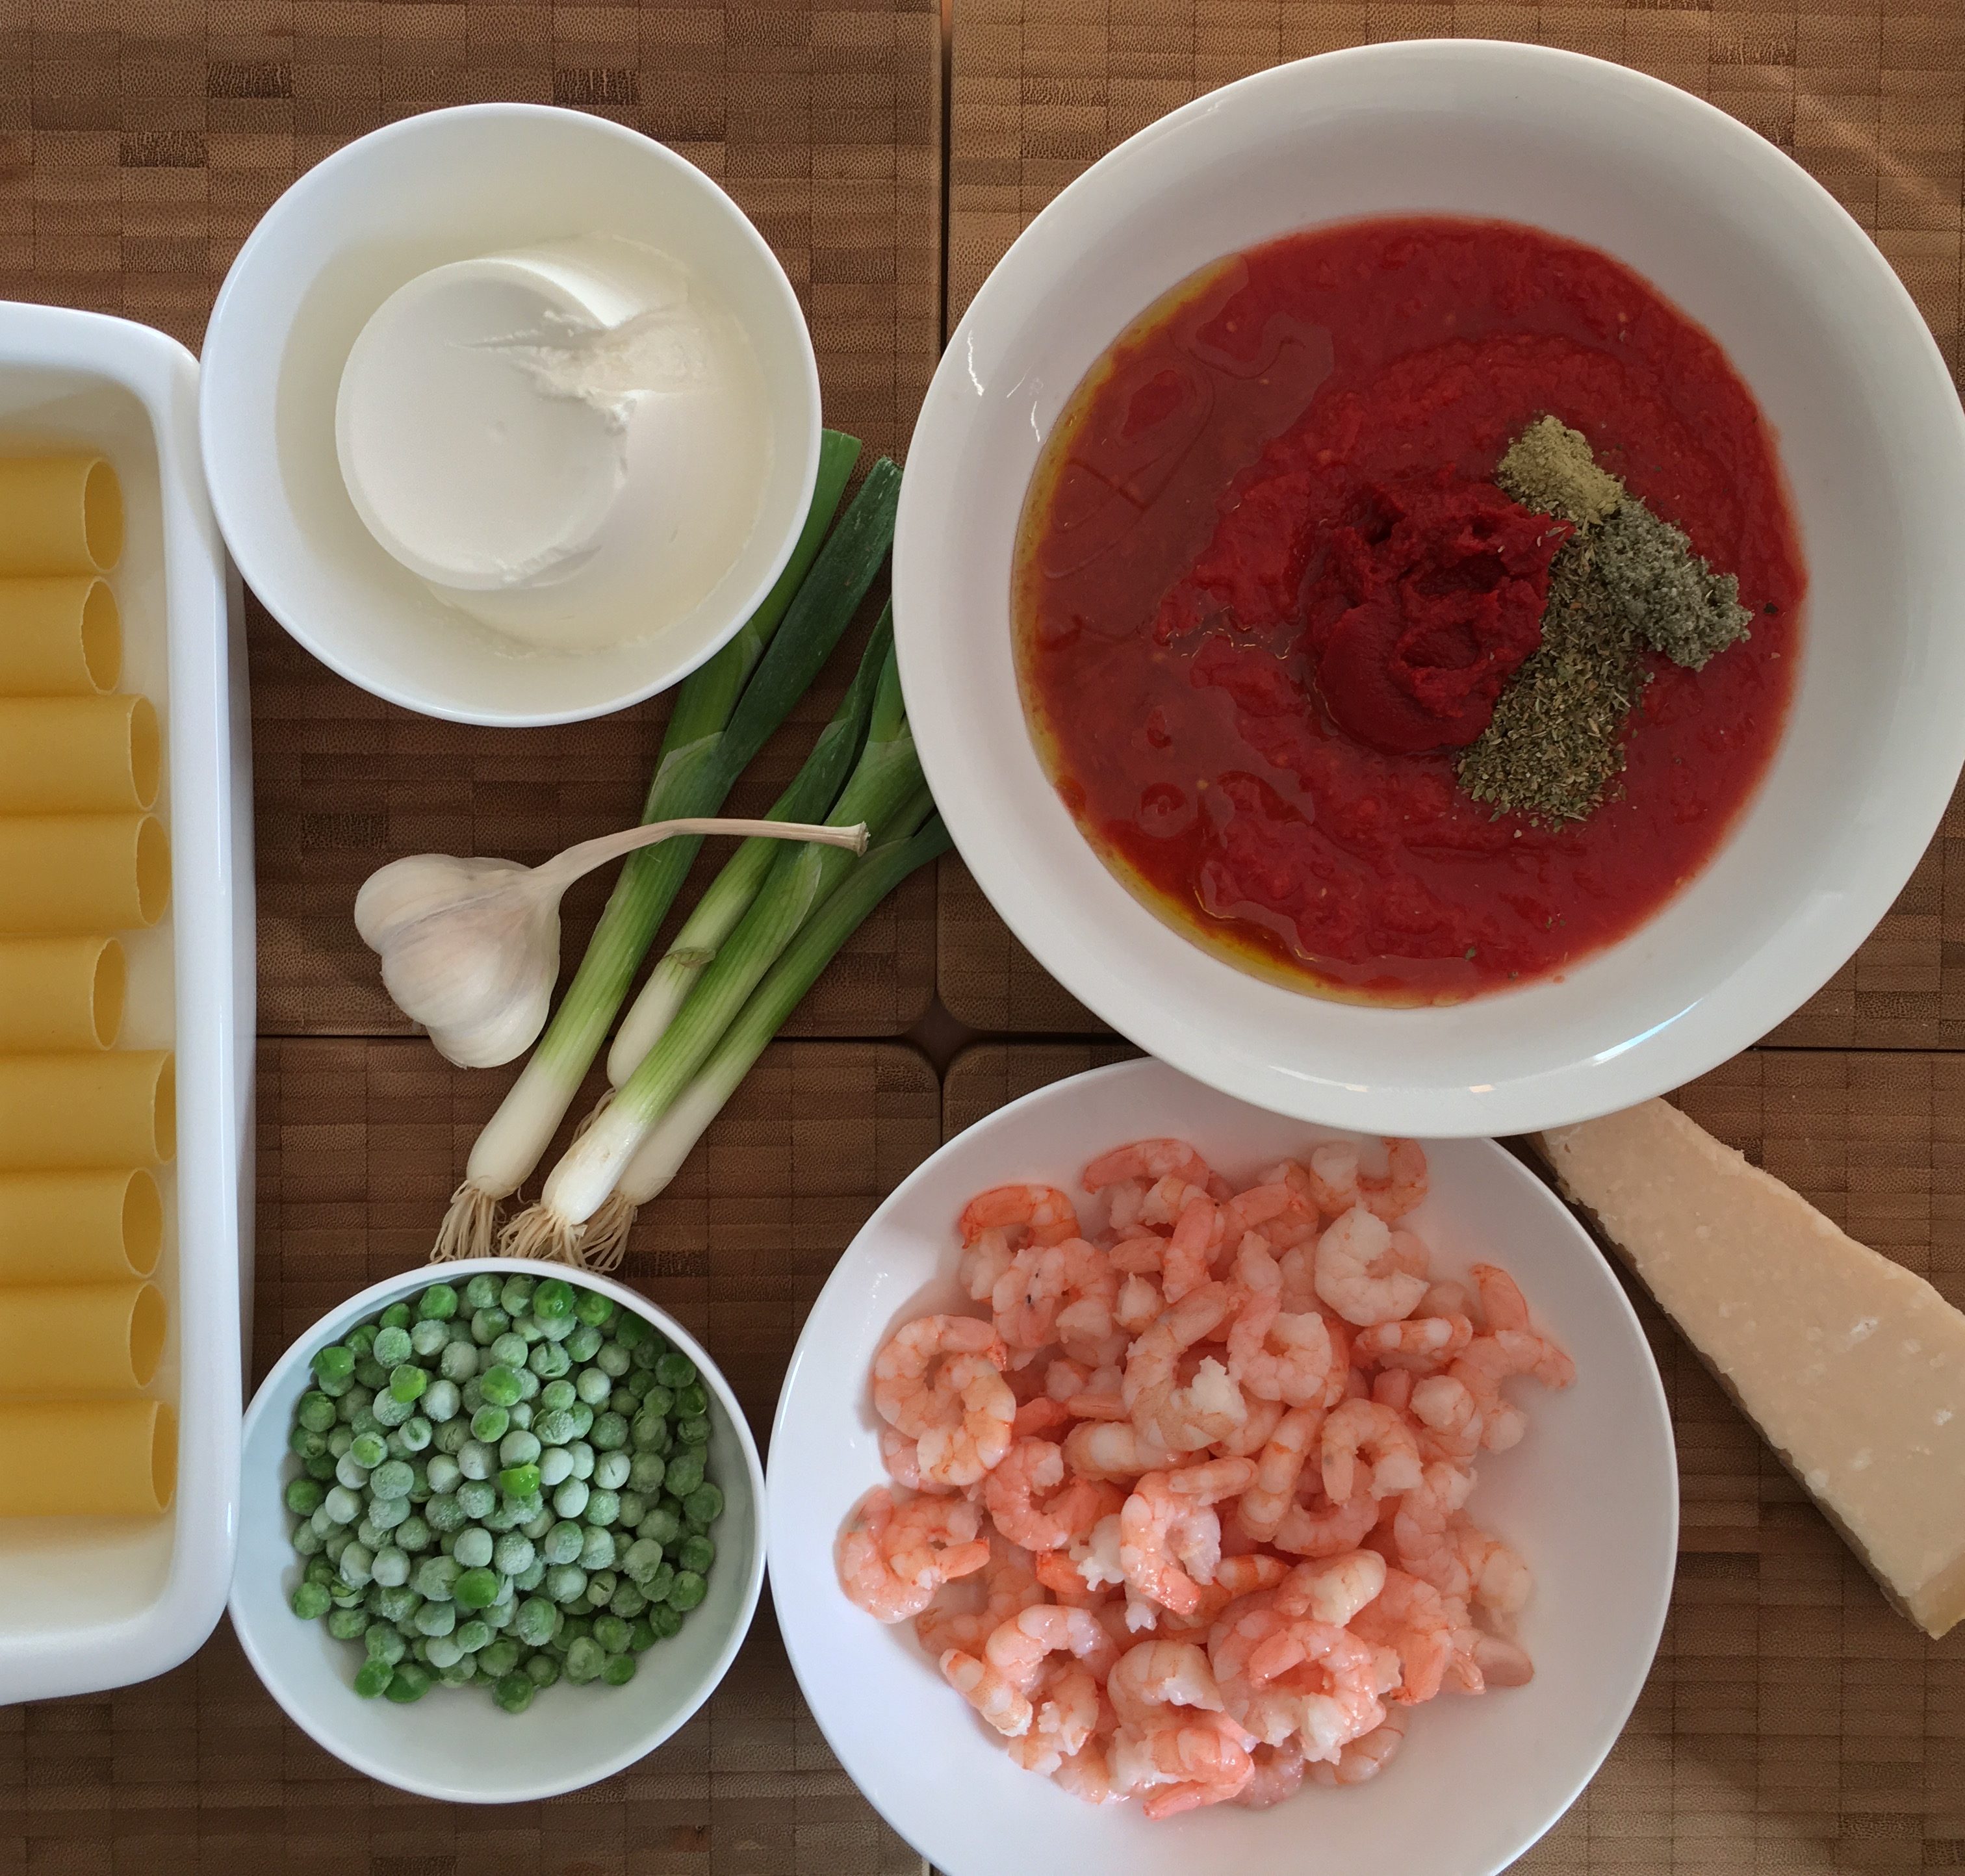
It’s just:
- cannelloni
- defrosted shrimps
- frozen peas
- ricotta
- spring onions
- garlic
- crushed tomatoes (out of a can)
- tomato purée (likewise)
- dried Mediterranean herbs like thyme, oregano, sage & ground rosemary
- parmesan – freshly grated.
We start chopping the spring onions, pressing the garlic & chopping the shrimps.
All marches in a pan & we start frying in some olive oil. Finally – towards the end – we add the frozen peas. For the frying session think about 10 – 15 min.
Afterwards let the mess cool down in a separate bowl. (Drain the water – there’s always some water from the shrimps & the peas …)
For the freshly grated parmesan we start grating …
For the sauce we just mix the crushed tomatoes, the tomato purée & the herbs. Add a pinch of sugar.
… & now (latest!): Don’t forget to preheat the oven to 175° C fan!
Mix the fried mess w/ the ricotta. It should be a creamy filling – not too dry, not too runny.
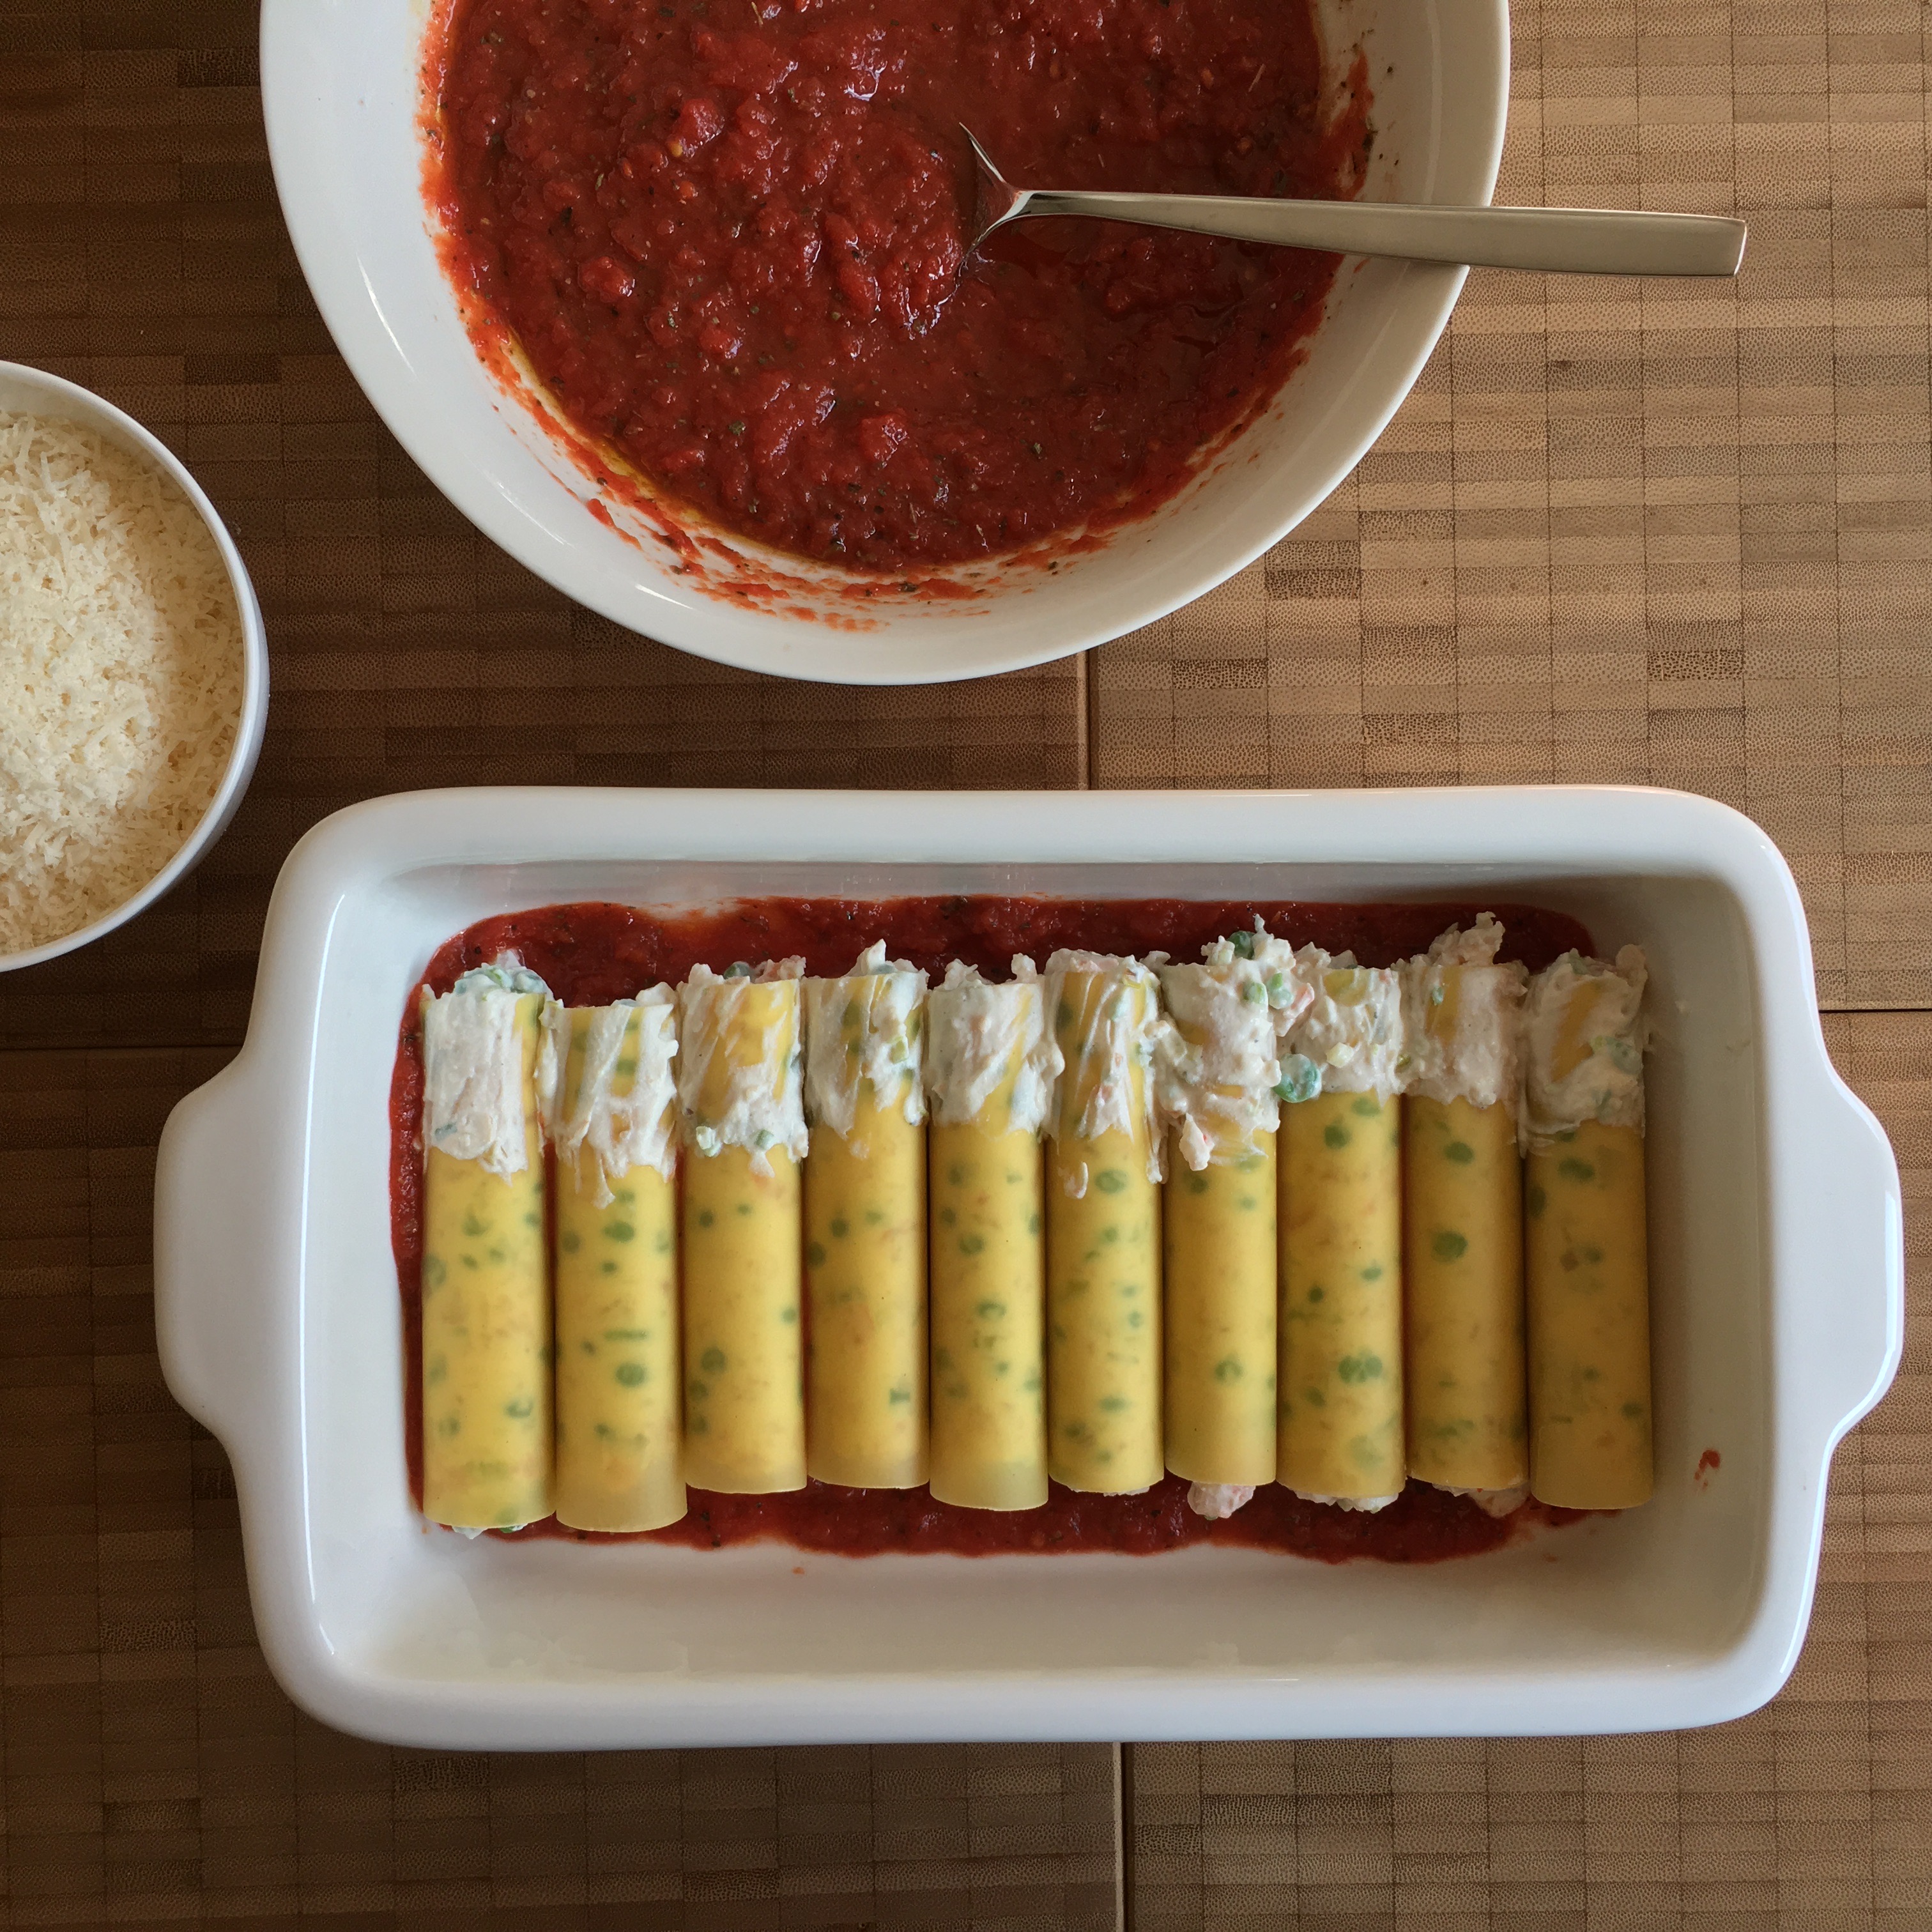
Now we are ready for the big action: filling the cannelloni.
- Cover the bottom of the casserole w/ tomato sauce.
- Fill each piece of cannelloni by pressing the tube into the mess – repeatedly … & the mess will walk upwards by itself.
- Line the cannelloni in the casserole.
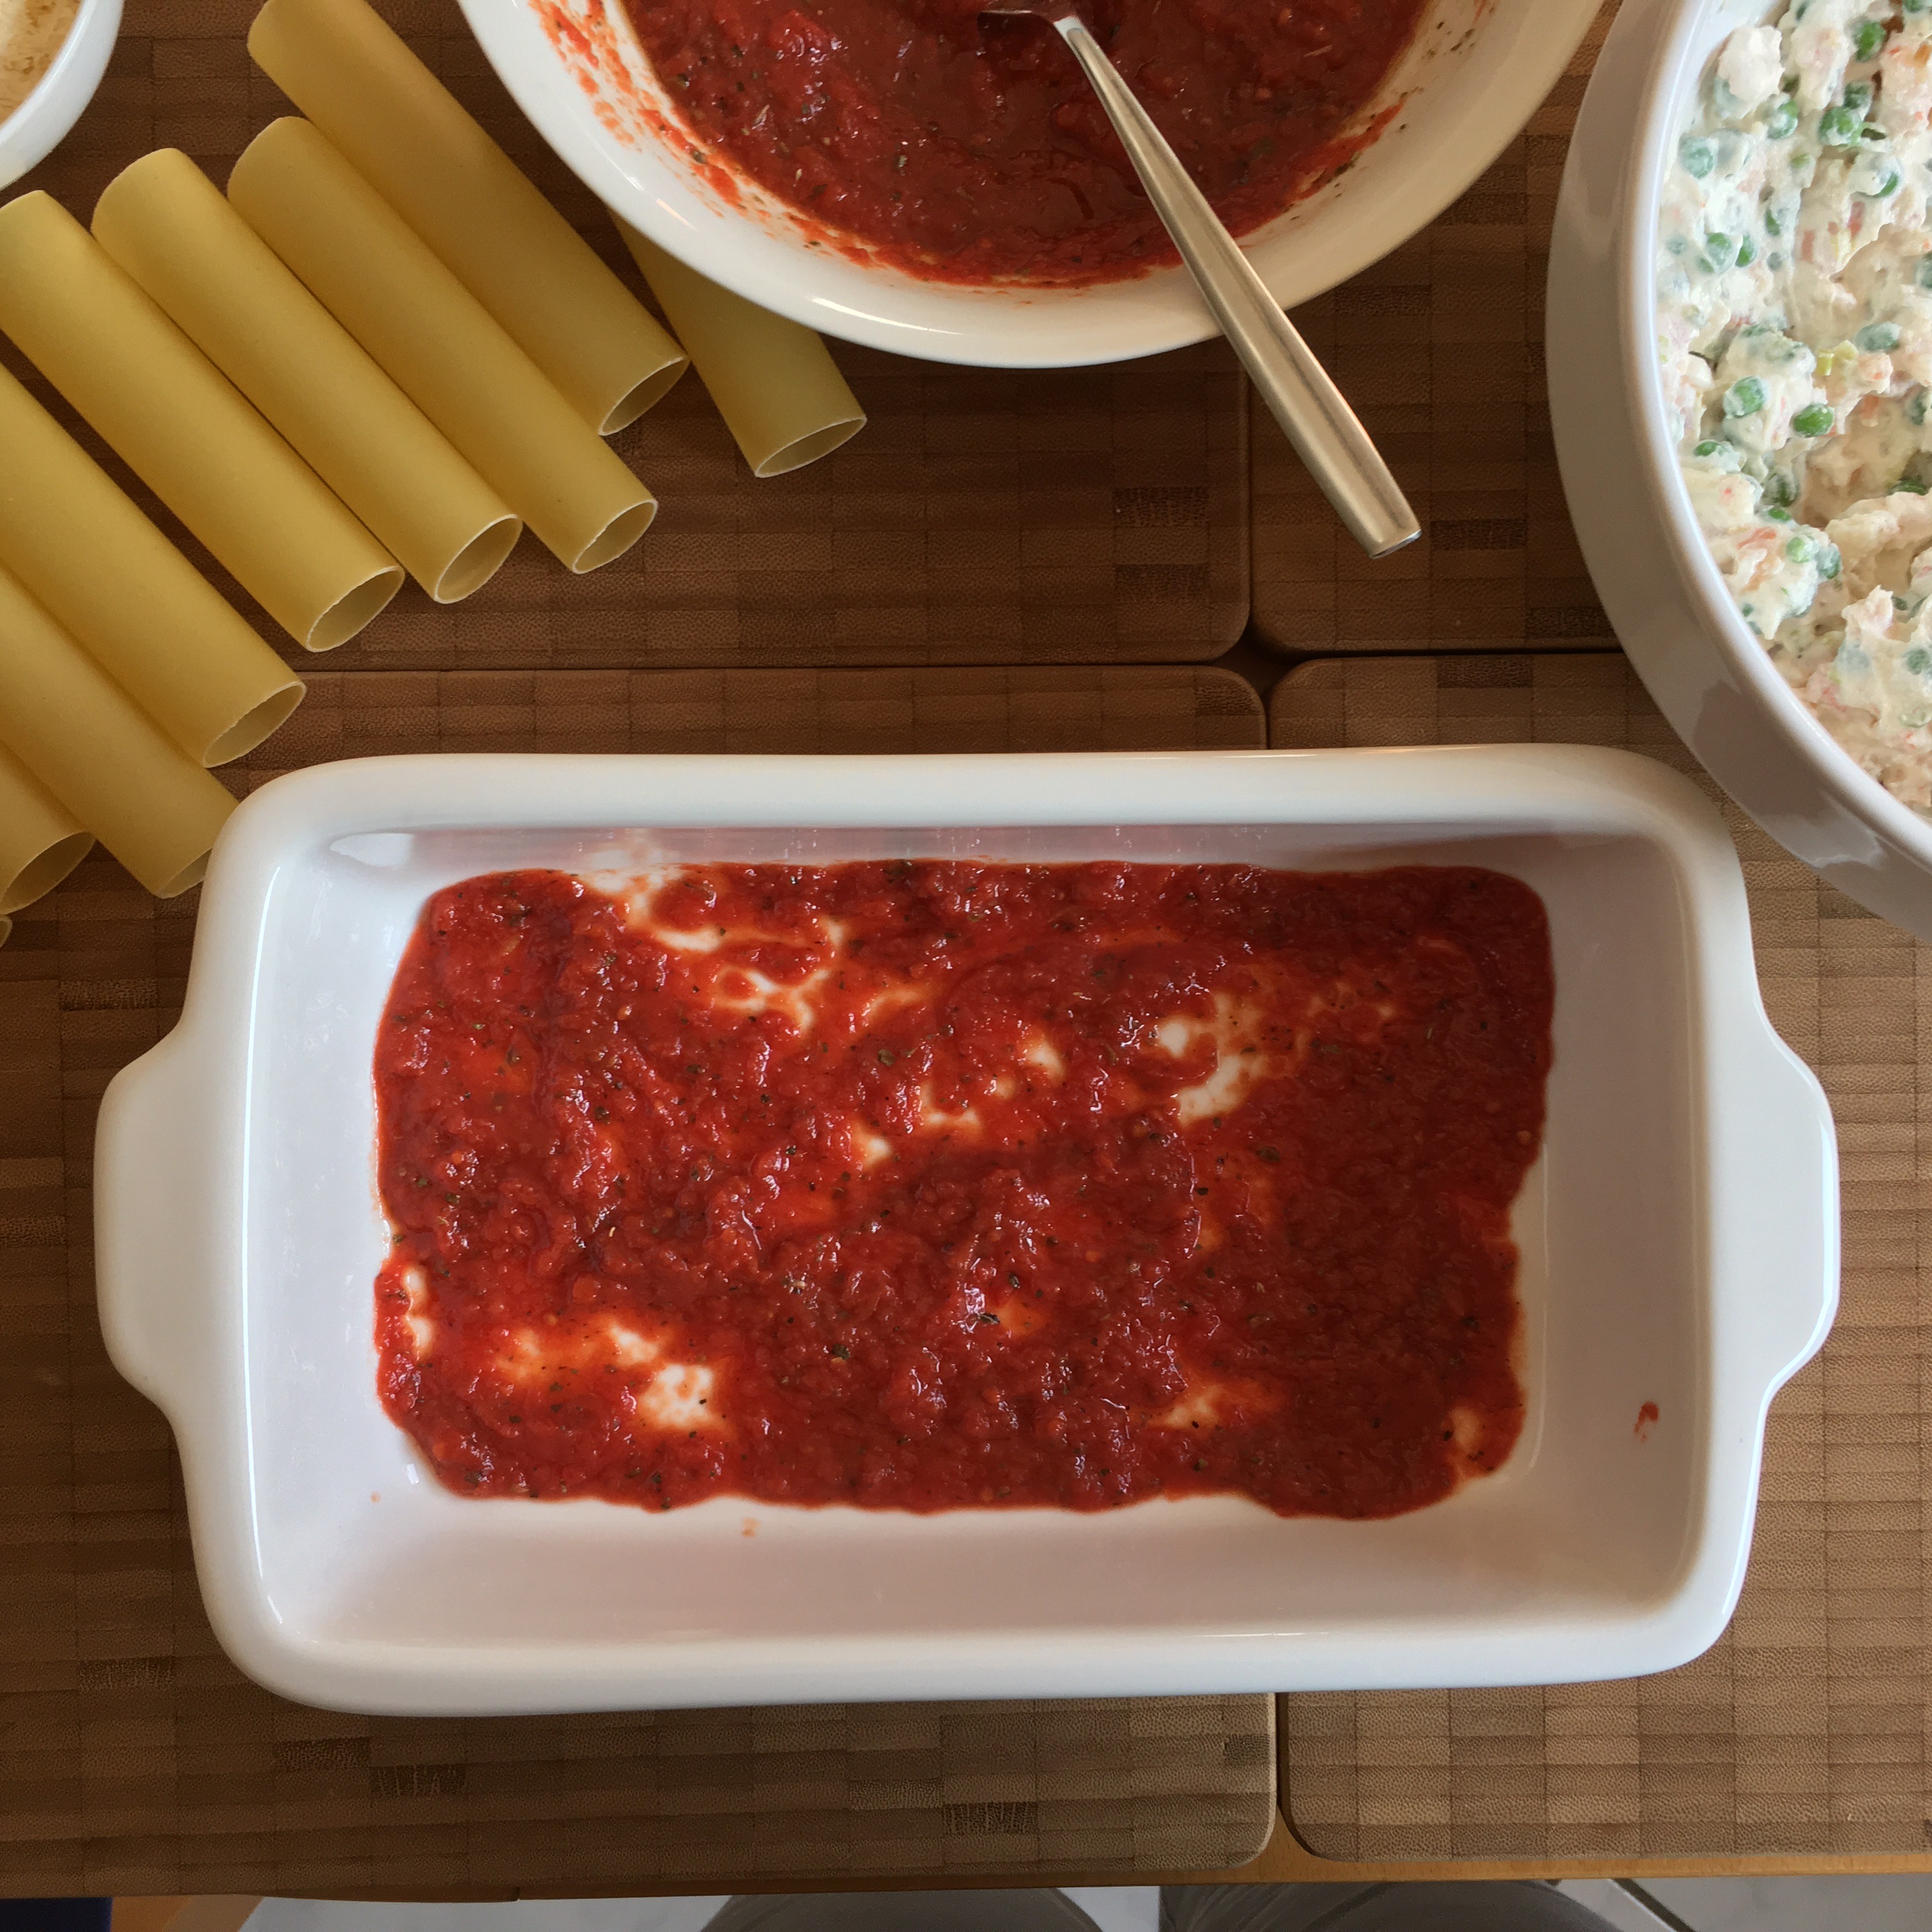
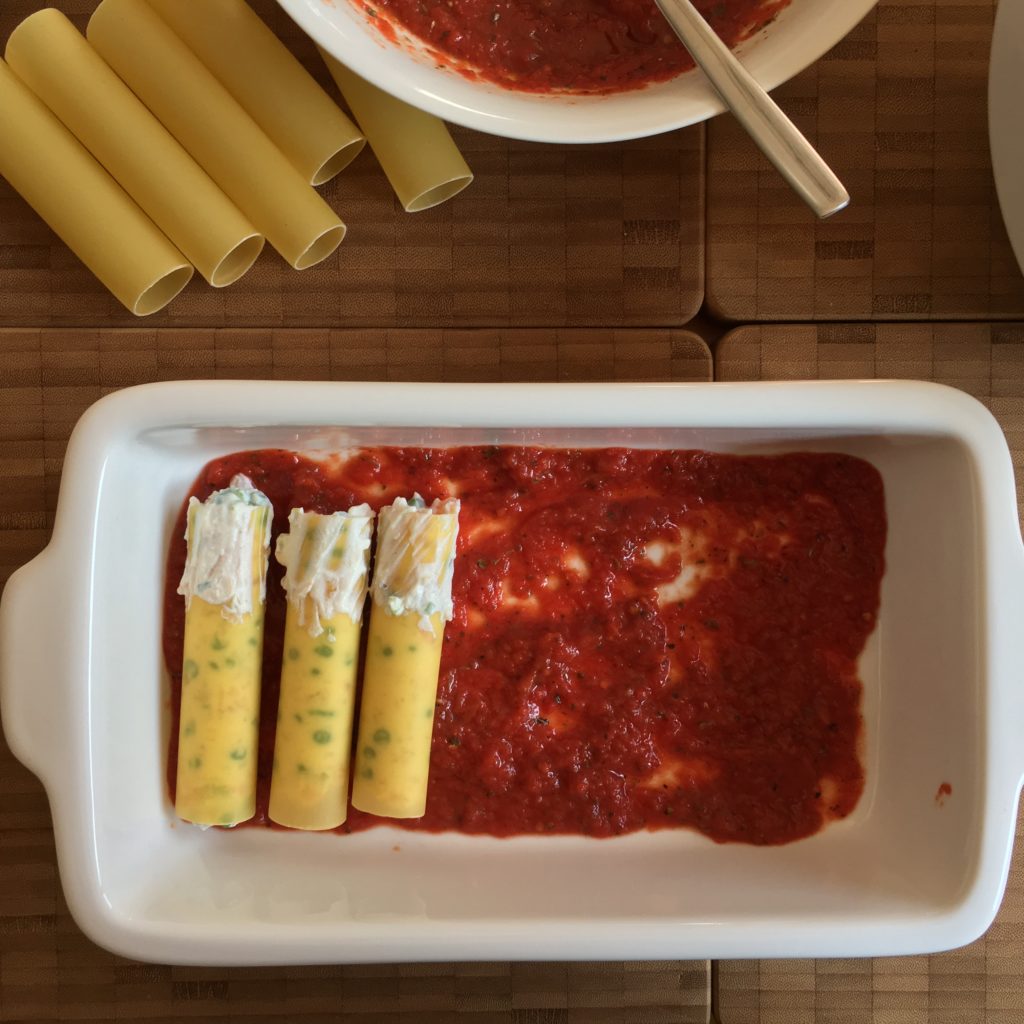
Finally cover all cannelloni w/ tomato sauce.
… & at last sprinkle grated parmesan on top – generously.
Ready for the preheated oven!

Coming back to how to fill cannelloni …
- The filling must be soft & smooth.
- There shouldn’t be any chunks in the filling.
- Take a piece of cannelloni & put it headfirst in the filling.
- … into the filling: Repeat. Repeat. Repeat …
- The soft filling will automatically go up & fill the piece of cannelloni by itself.
I. e. you won’t need any spoons or a cone or even a piping bag …
However, it won’t work when the filling is too runny – which is unusual for any cannelloni filling – in general. Also it won’t work if there are too many chunky pieces of meat or vegetables. (By experience: if you do a spinach & ricotta filling w/ long spinach leaves (the original leaves w/o any chopping) – forget this solution!).
If you work w/ fried minced meat make sure to add some tablespoons of tomato sauce (or béchamel sauce) to smooth the filling. For today’s cannelloni I used ricotta for smoothing. Liquid cream is also a fine solution.
… & about 30 min later: voilà!
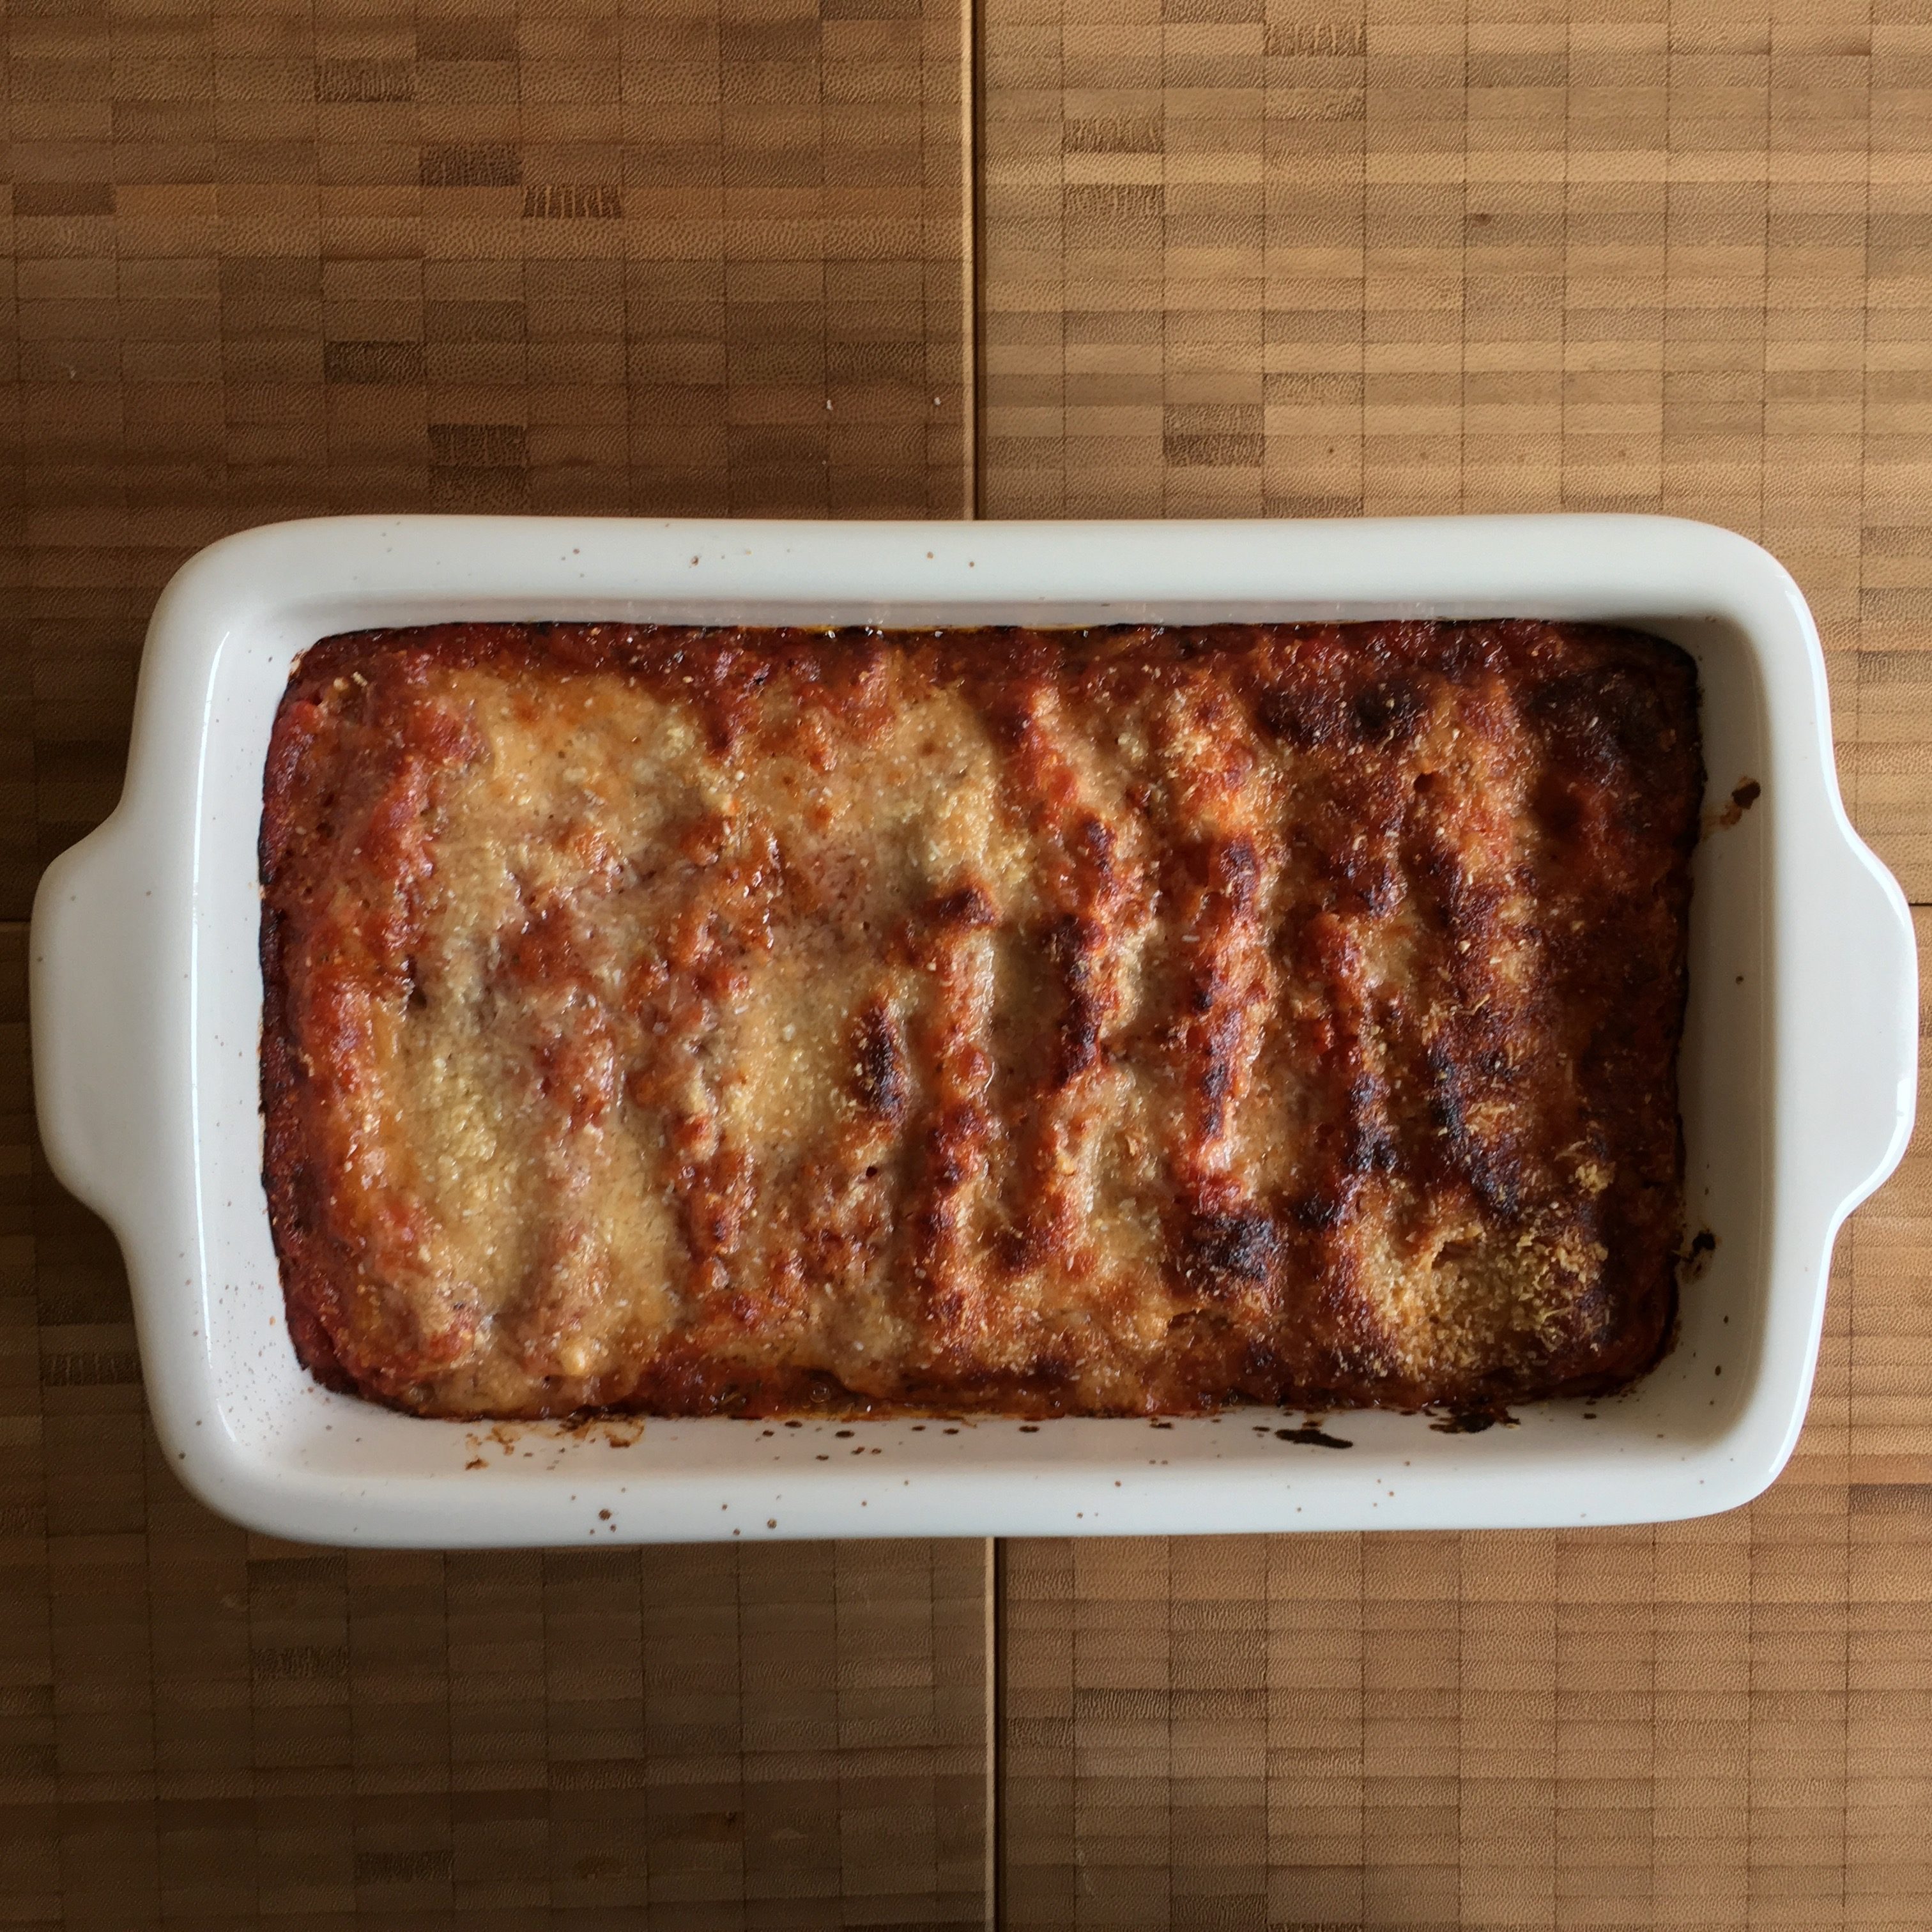
Enjoy!
- 300 g shrimps
- 100 g peas (frozen)
- 2-3 spring onions
- 1 clove of garlic
- 1 tbsp olive oil
- salt & pepper (to taste)
- 250 g ricotta
- 11-12 cannelloni
- 400 g crushed tomatoes
- 70 g tomato puree (1 can)
- a pinch of sugar
- 2-3 tbsp olive oil
- 2 tbsp dried mixed Mediterranean herbs
- 50 – 75 g parmesan (finely grated)
- a casserole
- a cheese grater
- Preheat the oven to 175° C fan.
- Press the garlic.
- Chop the spring onions.
- Chop the shrimps.
- Fry everything in some olive oil until soft (10 – 15 min). During the last 5 min add the frozen peas.
- Let it cool & drain the water – there always is some from the shrimps & the press..
- Mix w/ ricotta & add salt & pepper to taste.
- Mix the crushed tomatoes, the tomato puree & the olive oil & the herbs – don’t forget a pinch of sugar.
- Grate the parmesan.
- Fill the cannelloni.
- Add some sauce on the bottom of the casserole.
- Layer the filled cannelloni.
- Add the rest of the sauce.
- Sprinkle generously w/ grated parmesan.
- Put in the oven for about 30 min.
